Yesterday on face book I posted a simple dinner of parathas that my mother made for me. It got a lot of like and an interest in the recipe. There are so many ways to make this versatile bread – this is one way. I hope you try it and add it to your cooking repertoire.
Home made bread is a big deal in Indian homes. And by big deal I mean we eat it almost every day and most of it is made at home, at least when I was growing up.
There is roti, paratha, poori – most of which I have talked of in the past. I want to talk about what we call Missi Roti (why it’s called that – I am not sure). I tried to research it, trust me. This is all I got other than recipes: A Missi Roti is actually a normal roti, made with the normal dough as described earlier, to which various other types of flour and spices have been added. There isn’t any fixed recipe for this – it’s each one to his own here. One simple example would be to mix equal proportions of whole meal wheat and gram flour with some red chilli powder, salt, kasuri methi(fenugreek) and perhaps a little cuminseed, add some water and make a soft dough. You could also knead in a little oil if you like. When done, cook on a hot griddle like a normal Roti.
What’s in a name. Let’s just get to learn how to make it.
My mom typically makes this when there is leftover lentils – which is often.
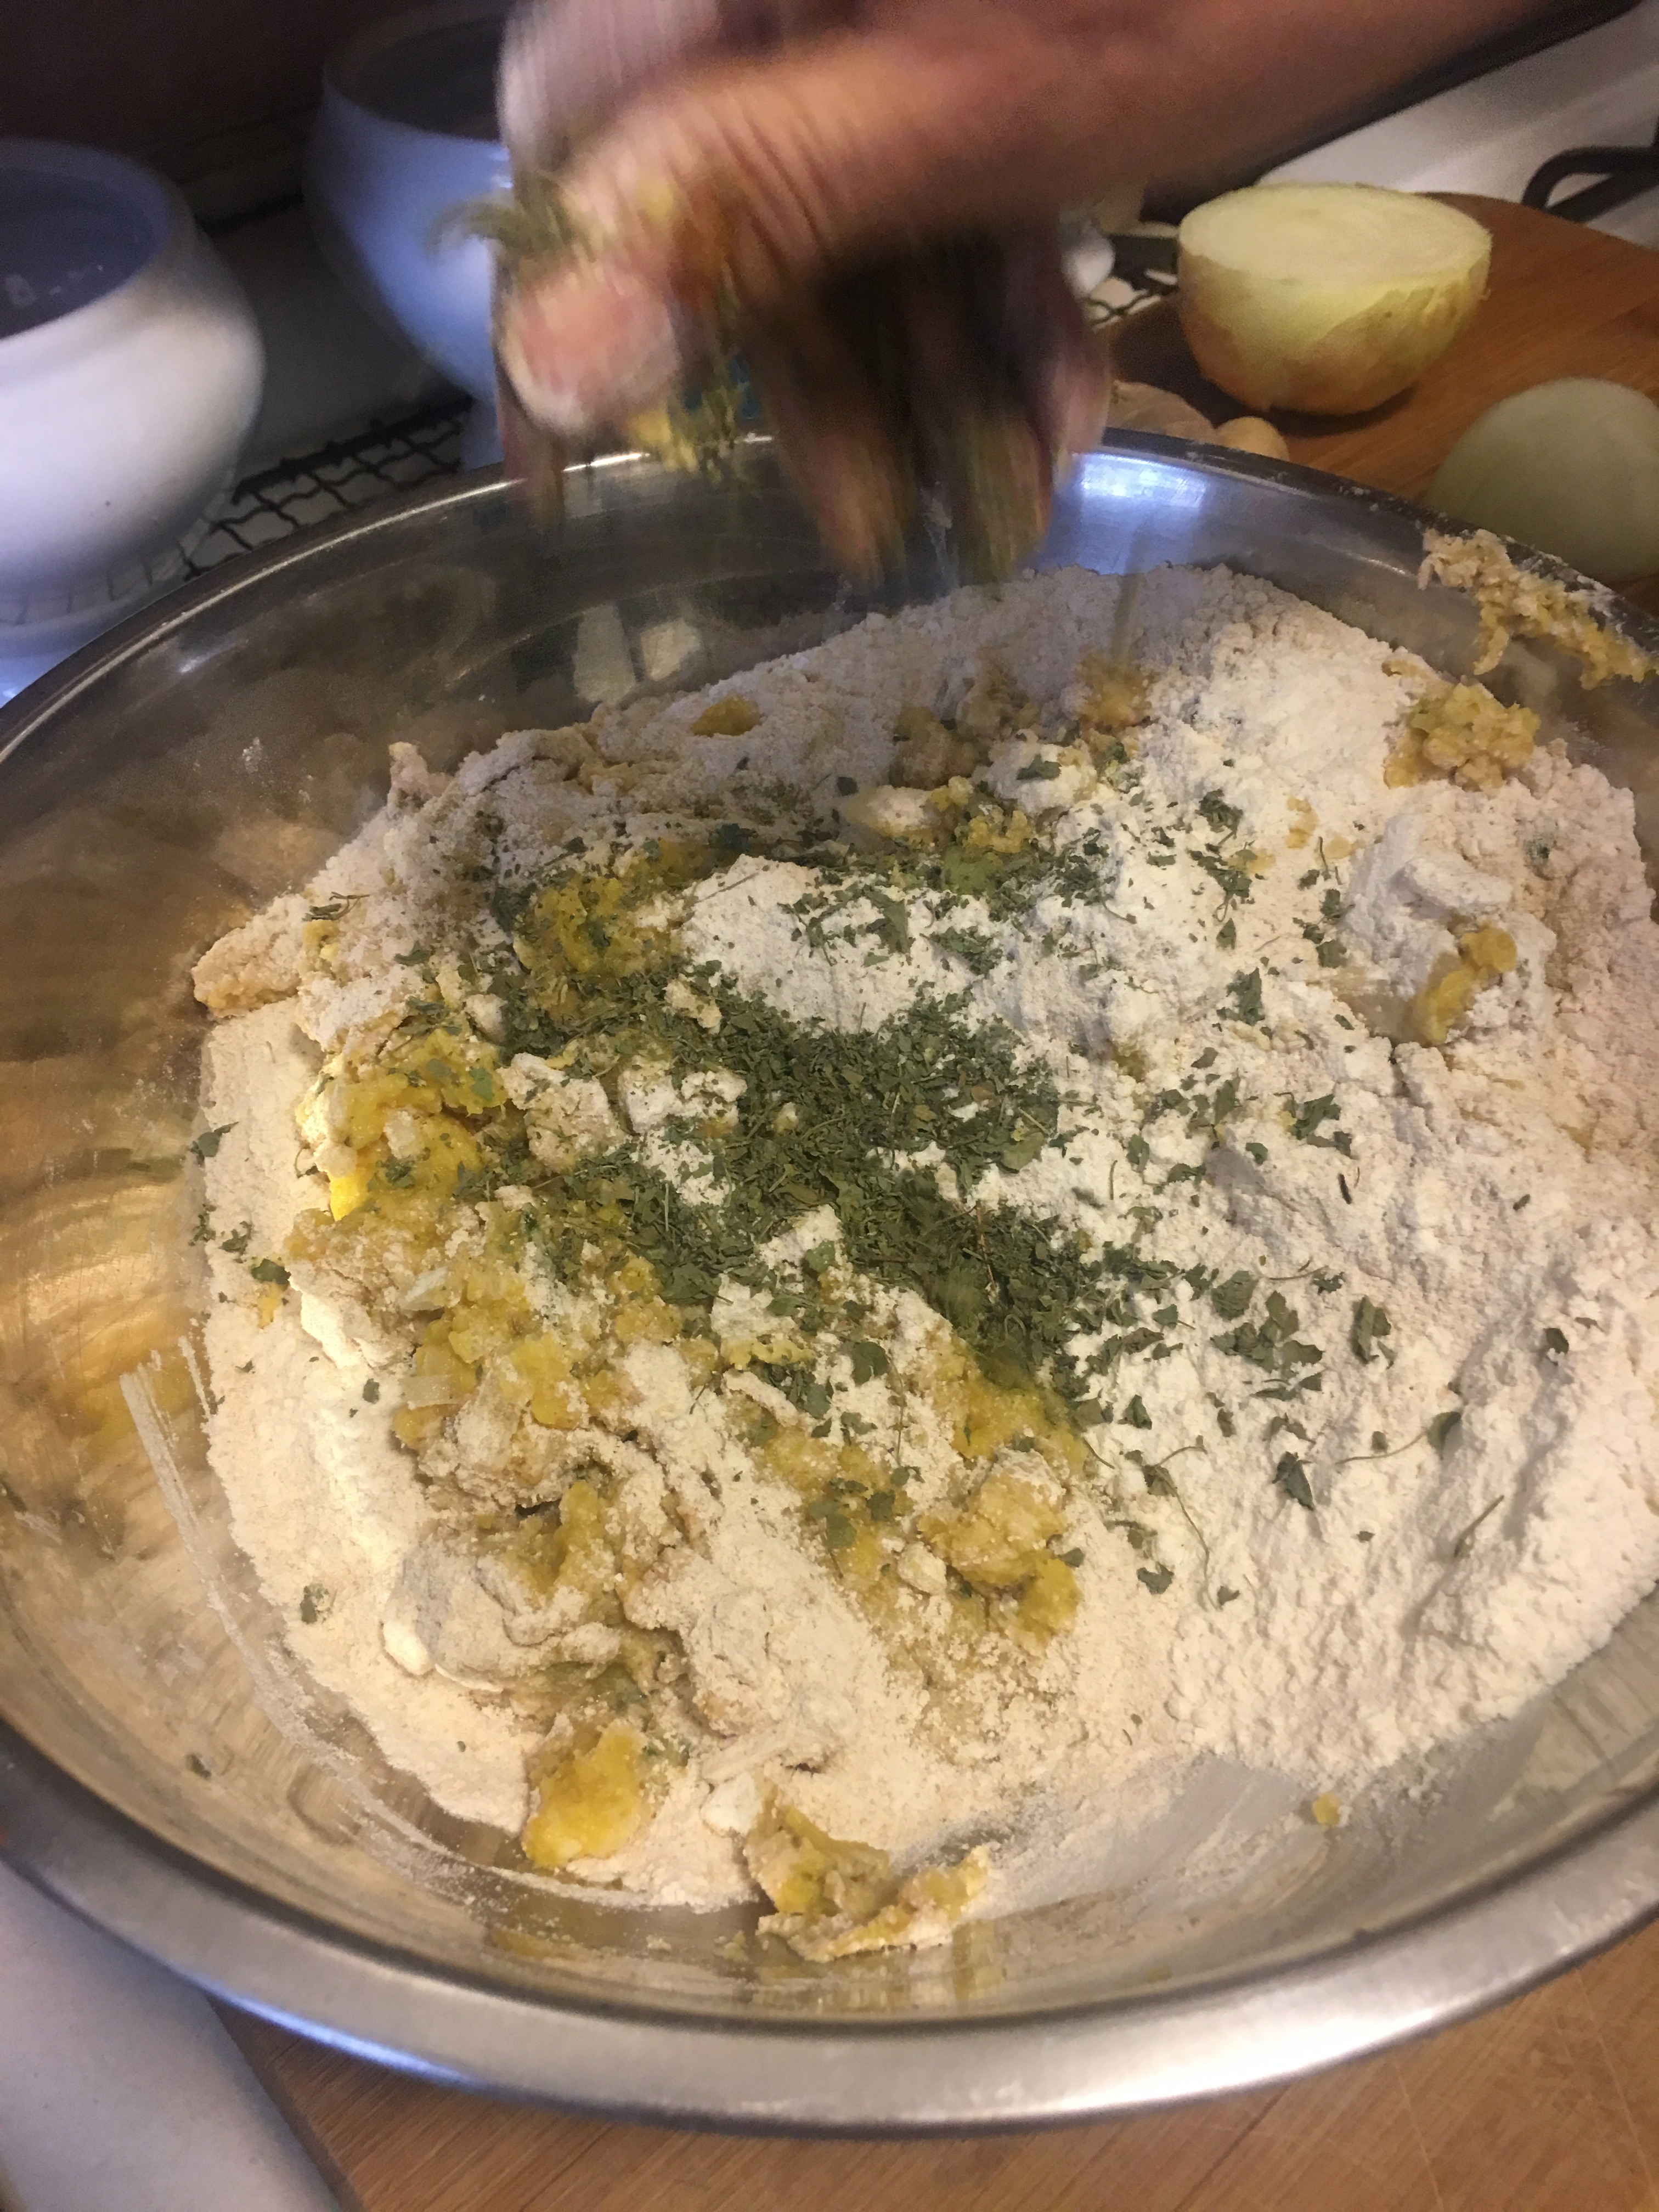
I used 3 cups of durum wheat flour (found in Indian stores – use whole wheat instead)
1 cup of chickpea flour (optional)
1-2 cups of left over cooked lentils
1/2 onion, finely chopped
1 tsp. methi (fenugreek leaves)
chopped cilantro
grated ginger (optional)
salt
1/2 tsp ajwain seeds (found in Indian stores)
2 tbs oil plus more for cooking the bread
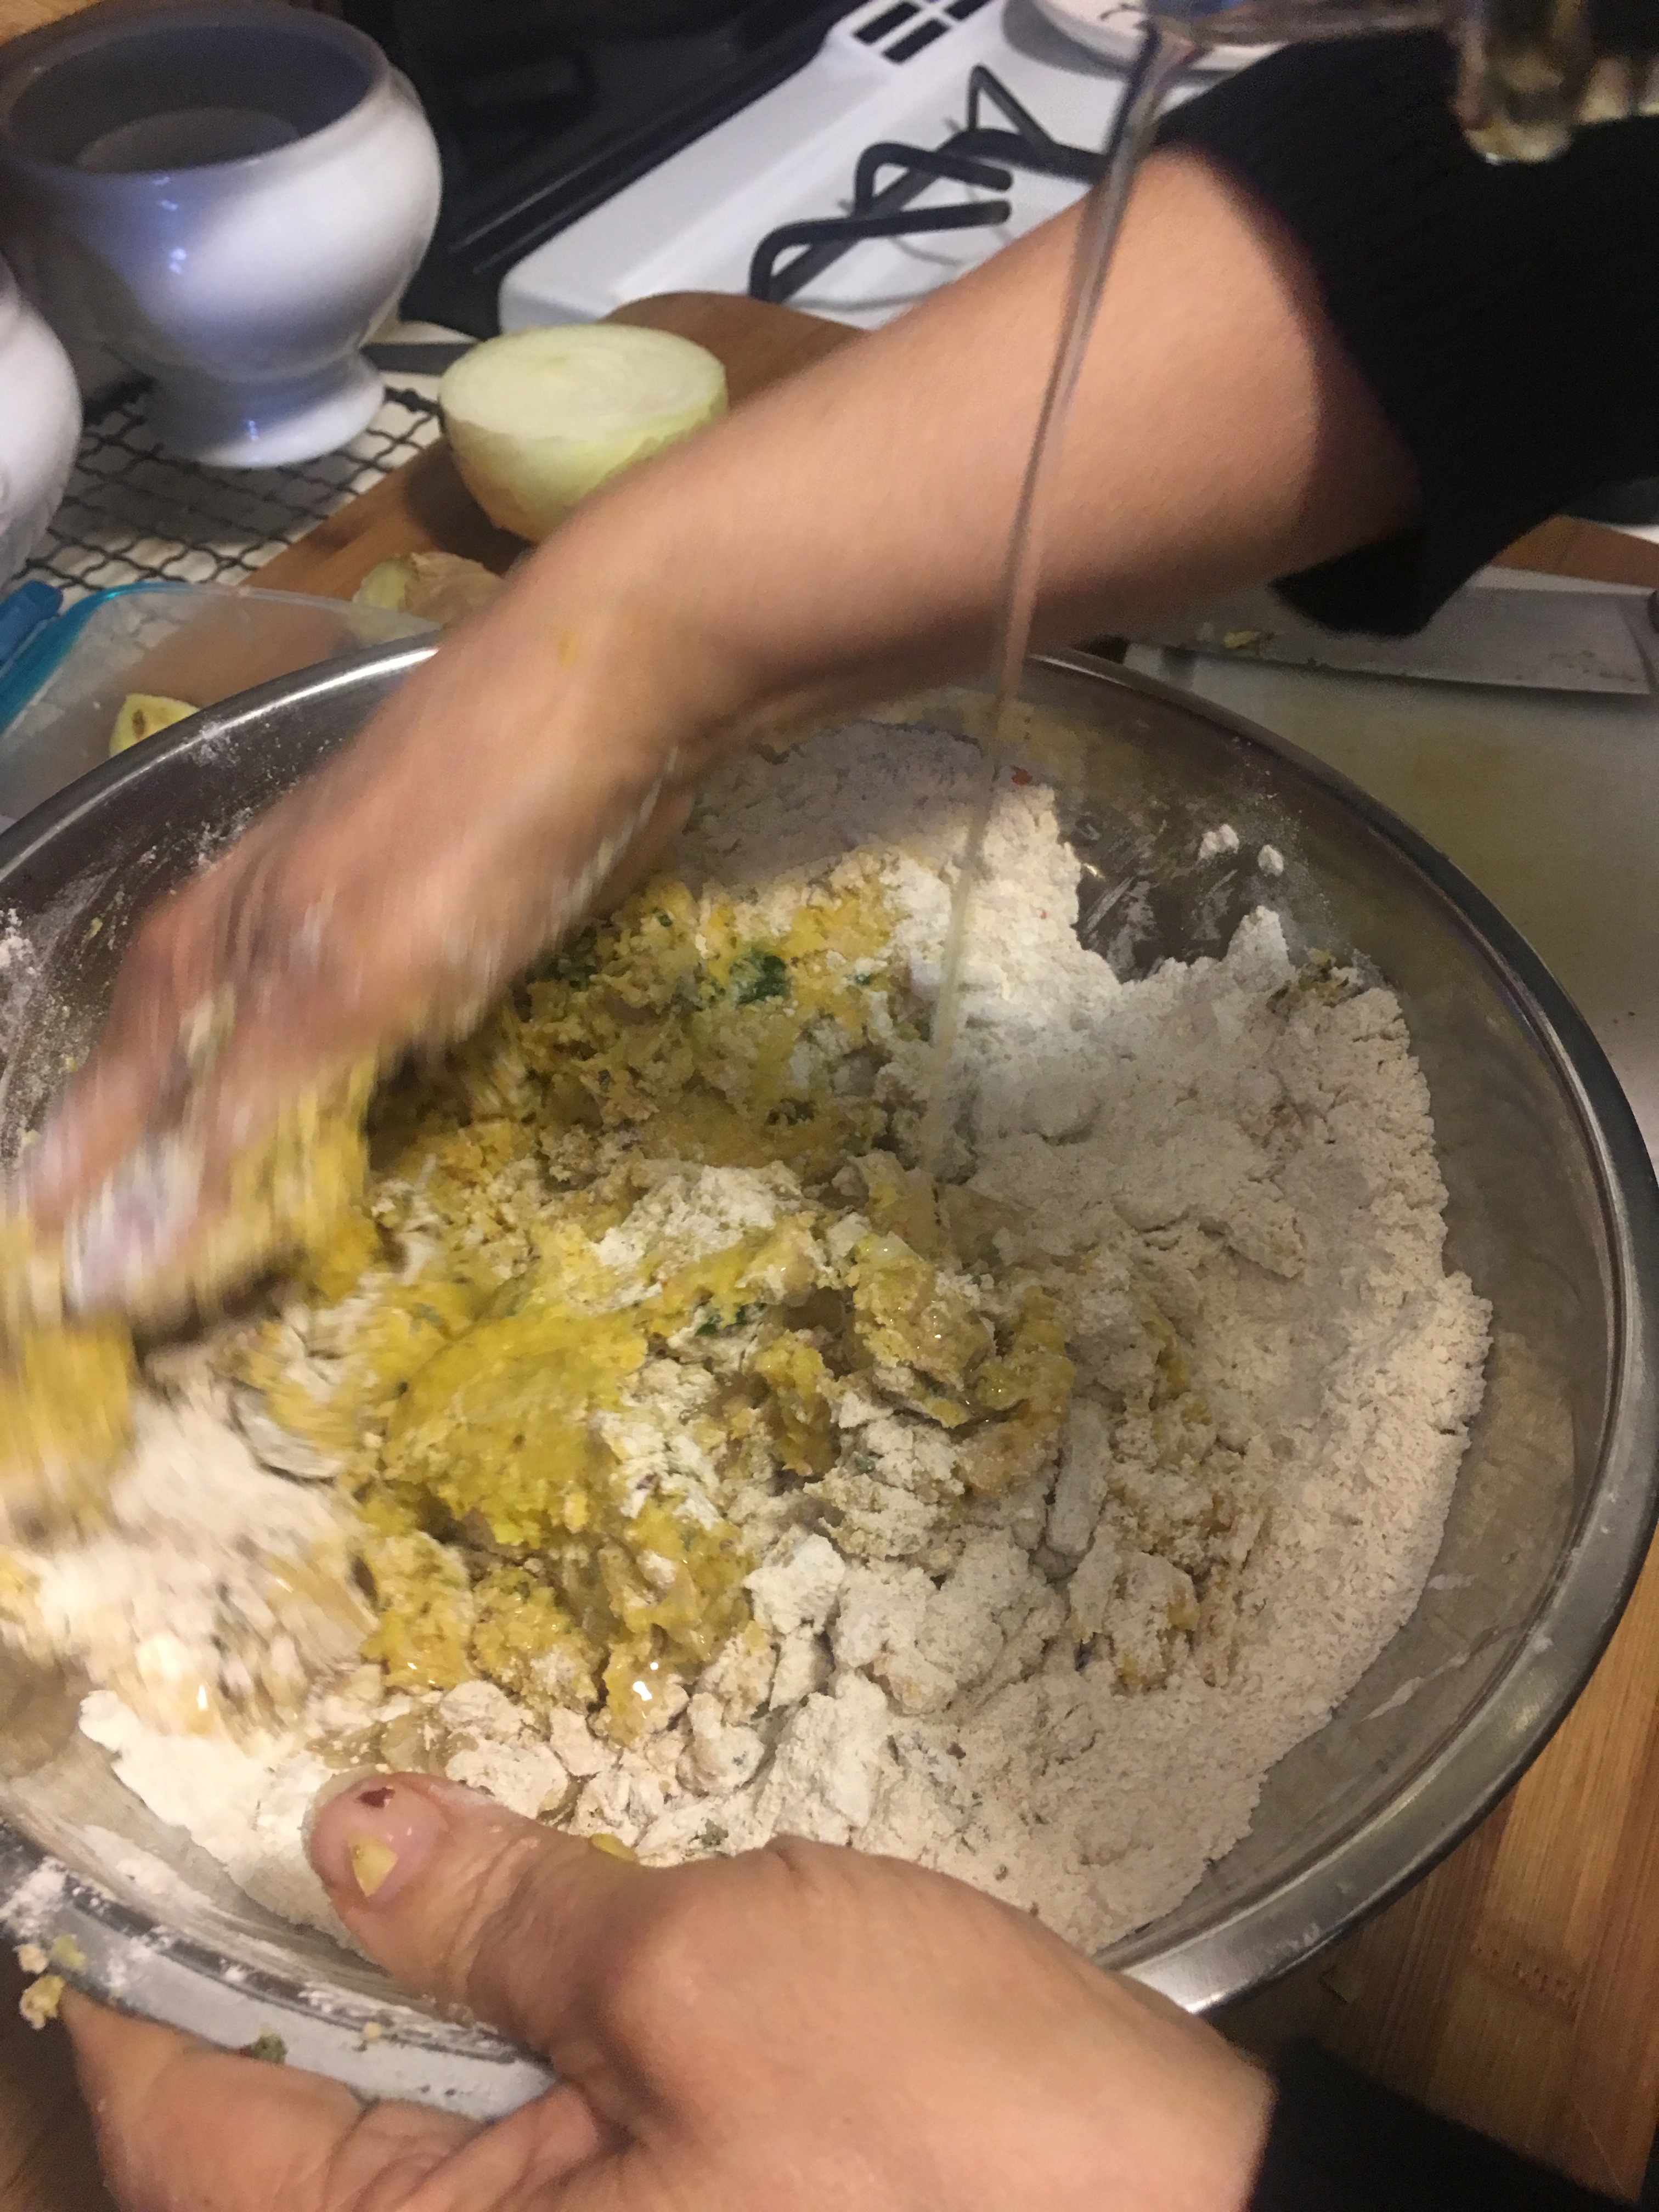
You might not need to put any water – depends on the amount of liquid in the lentils.
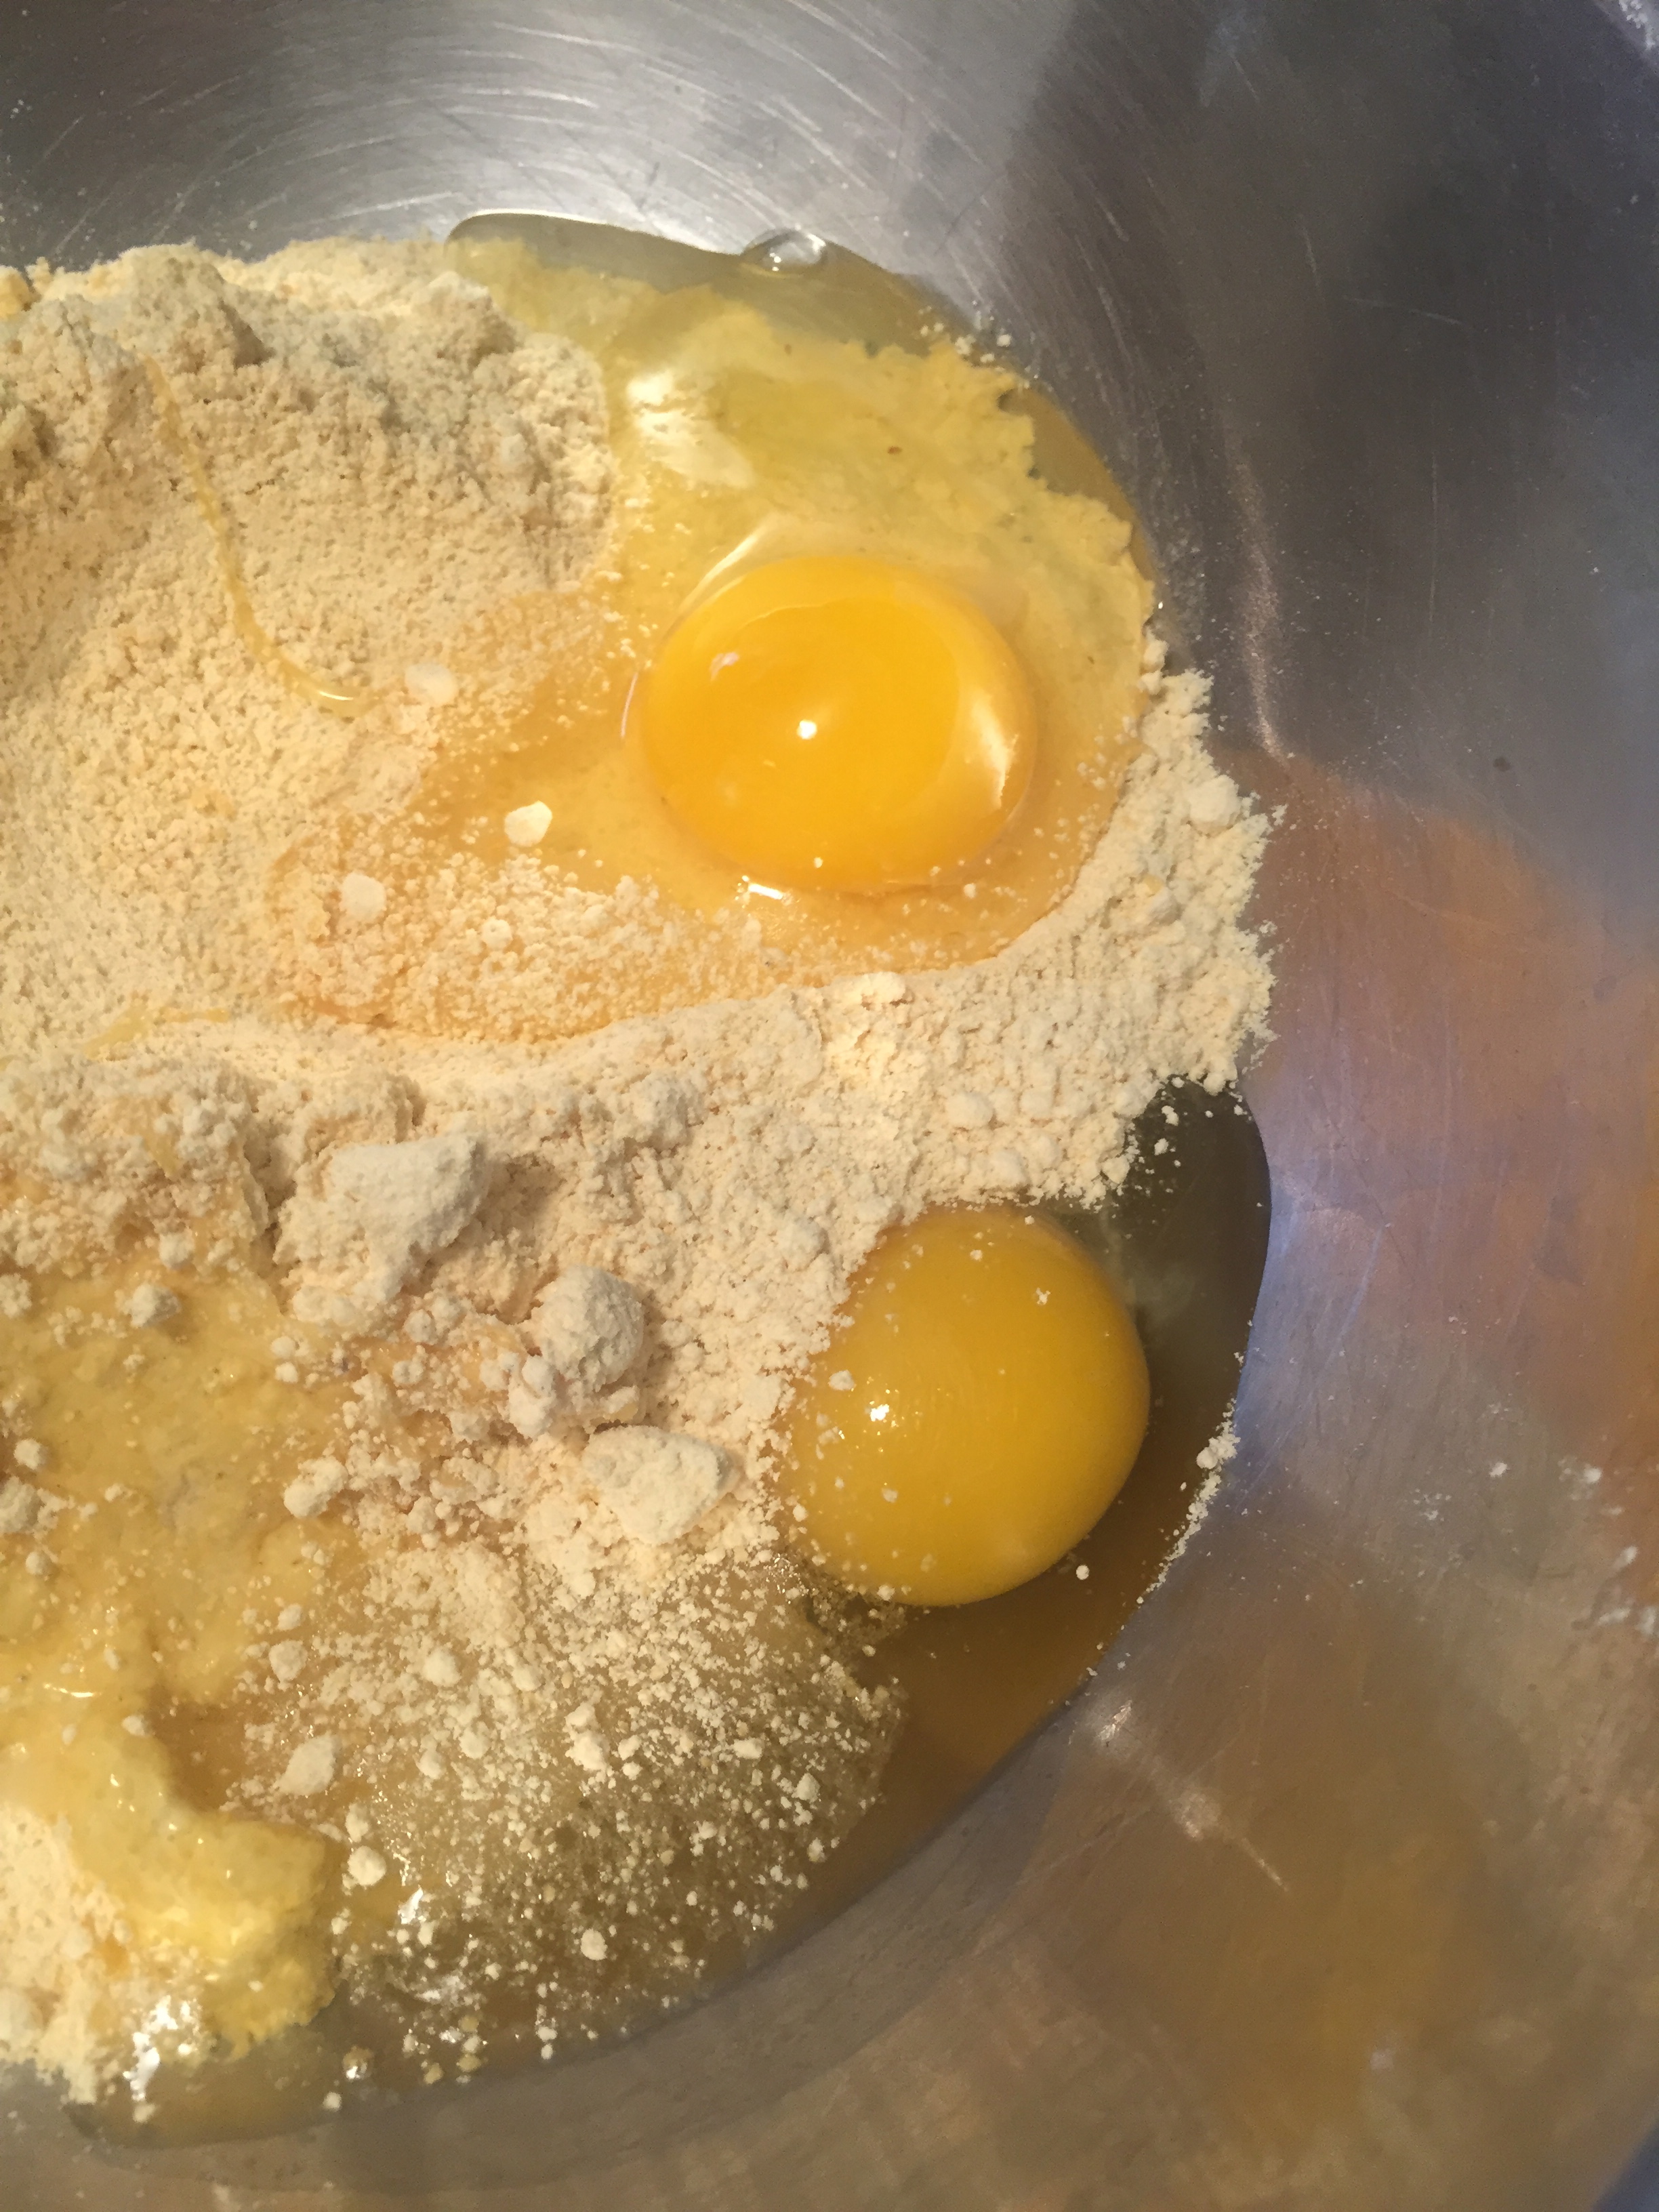
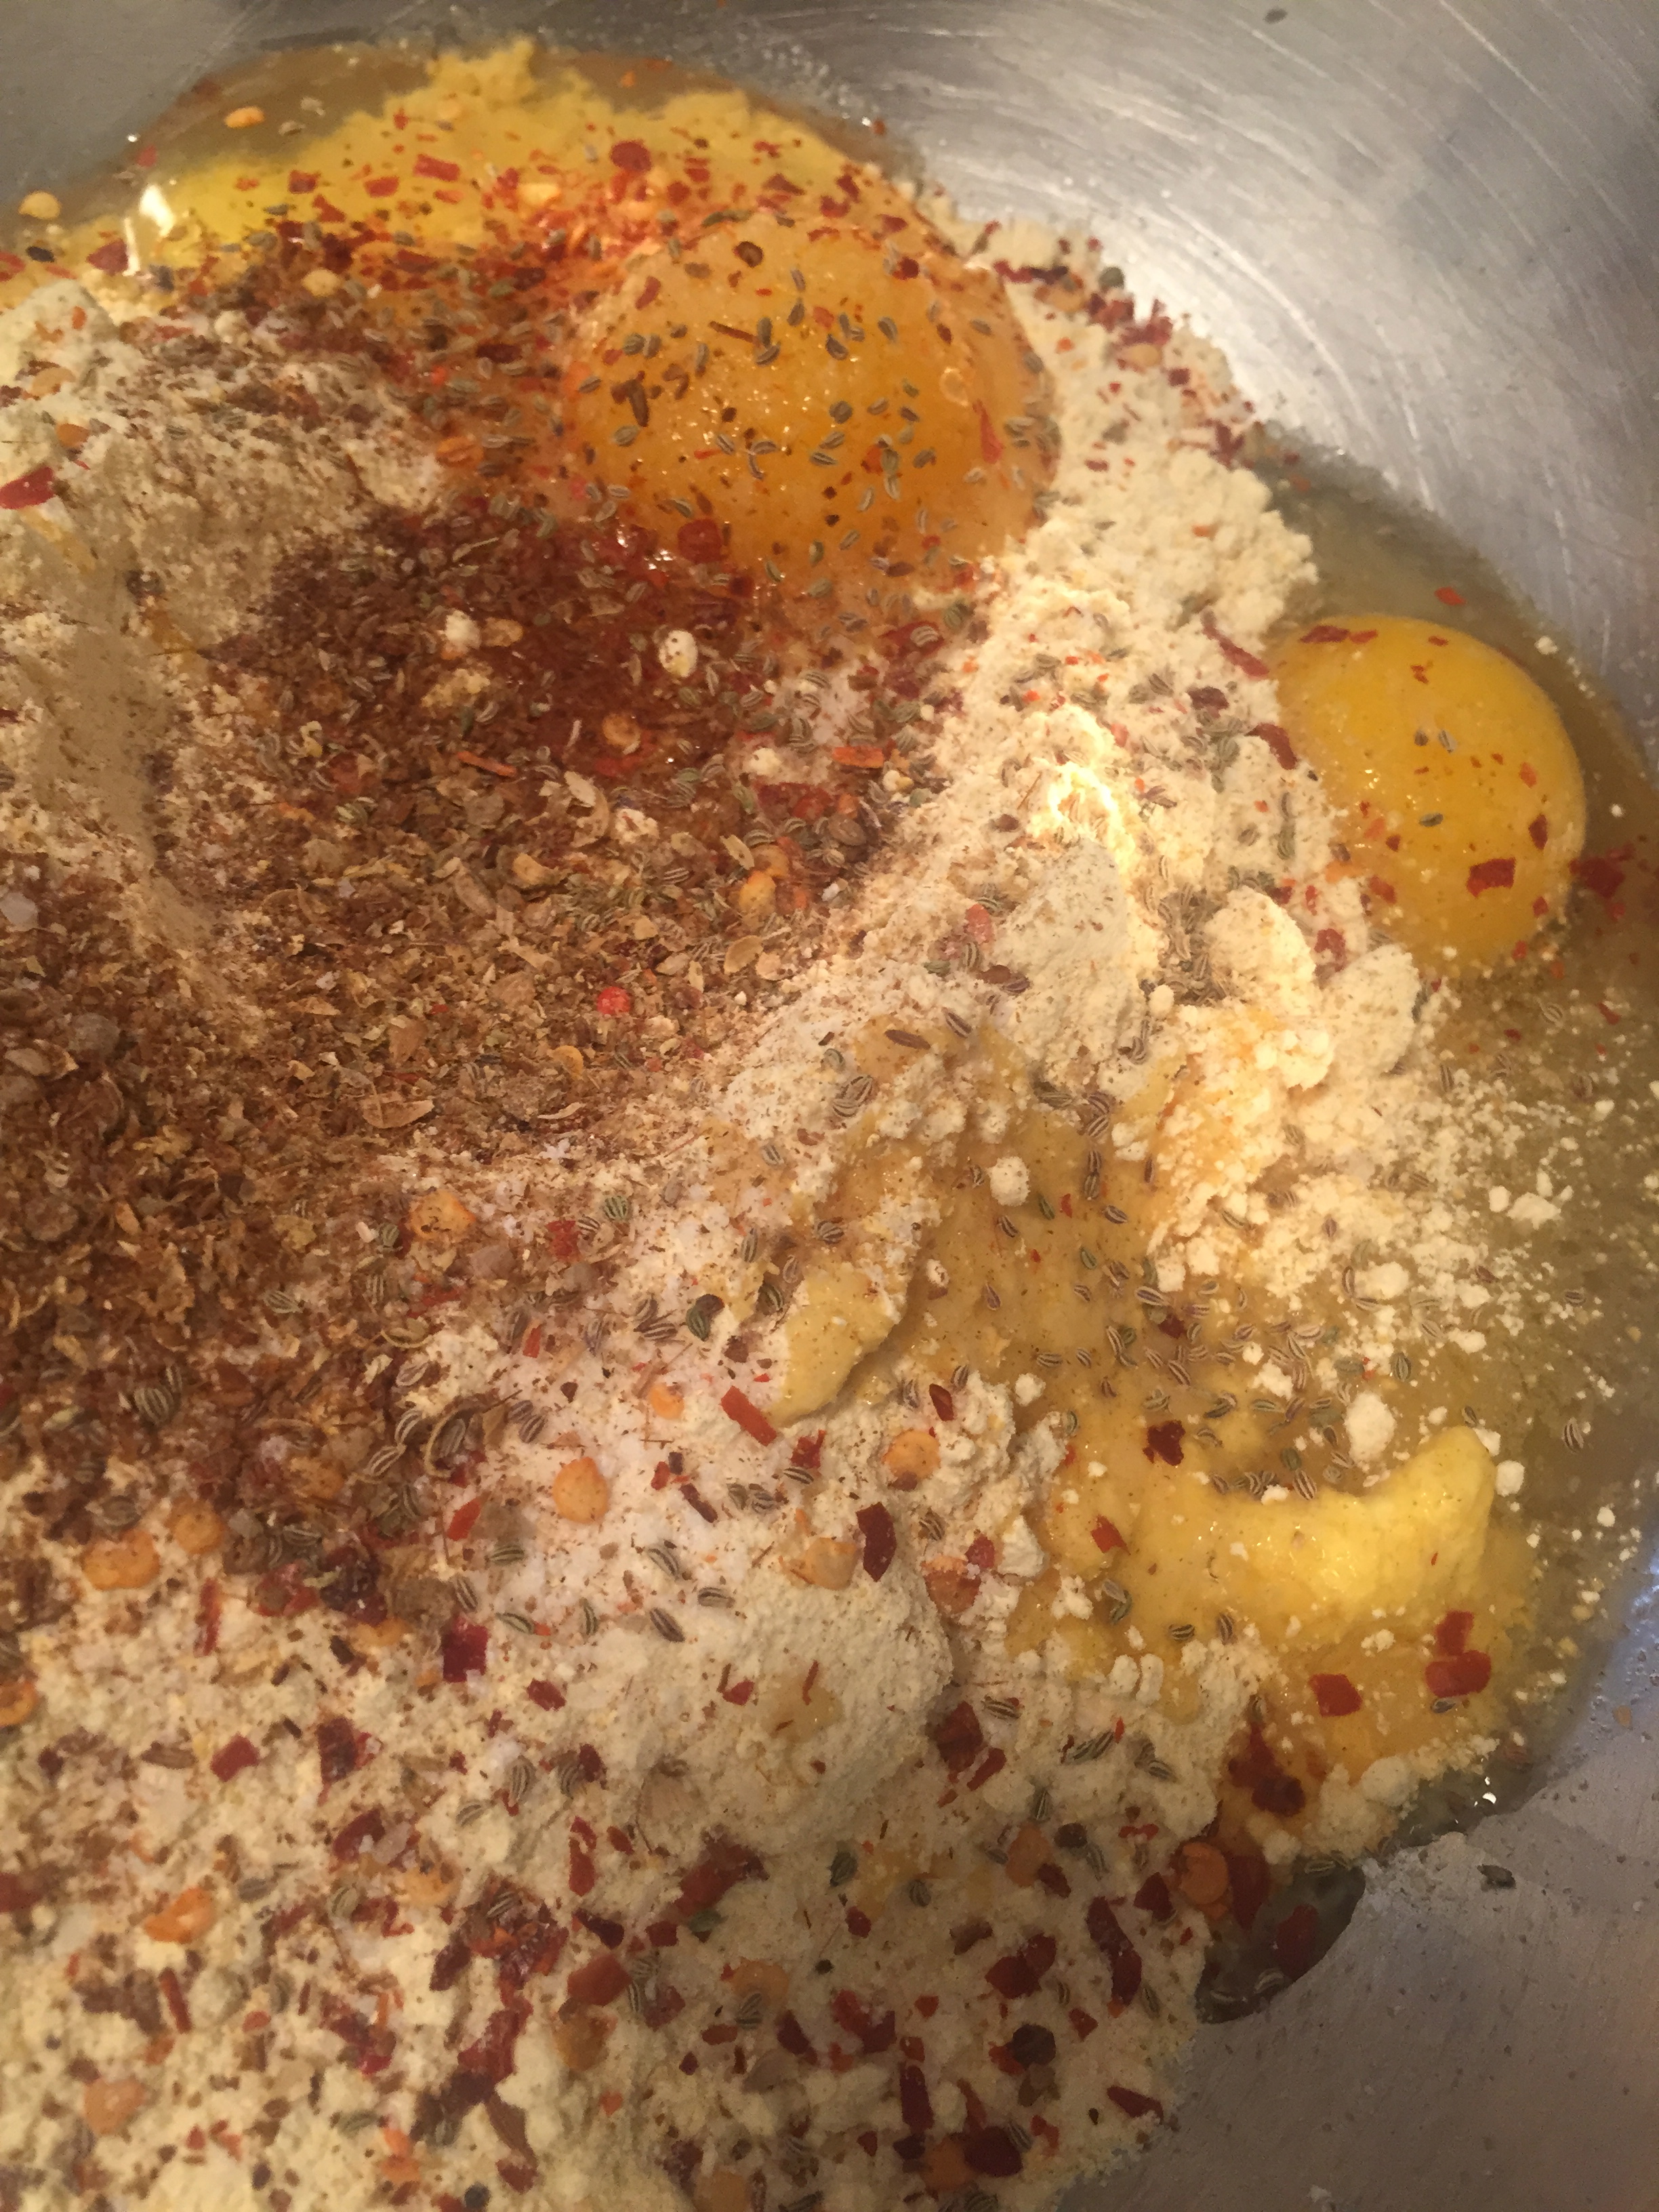
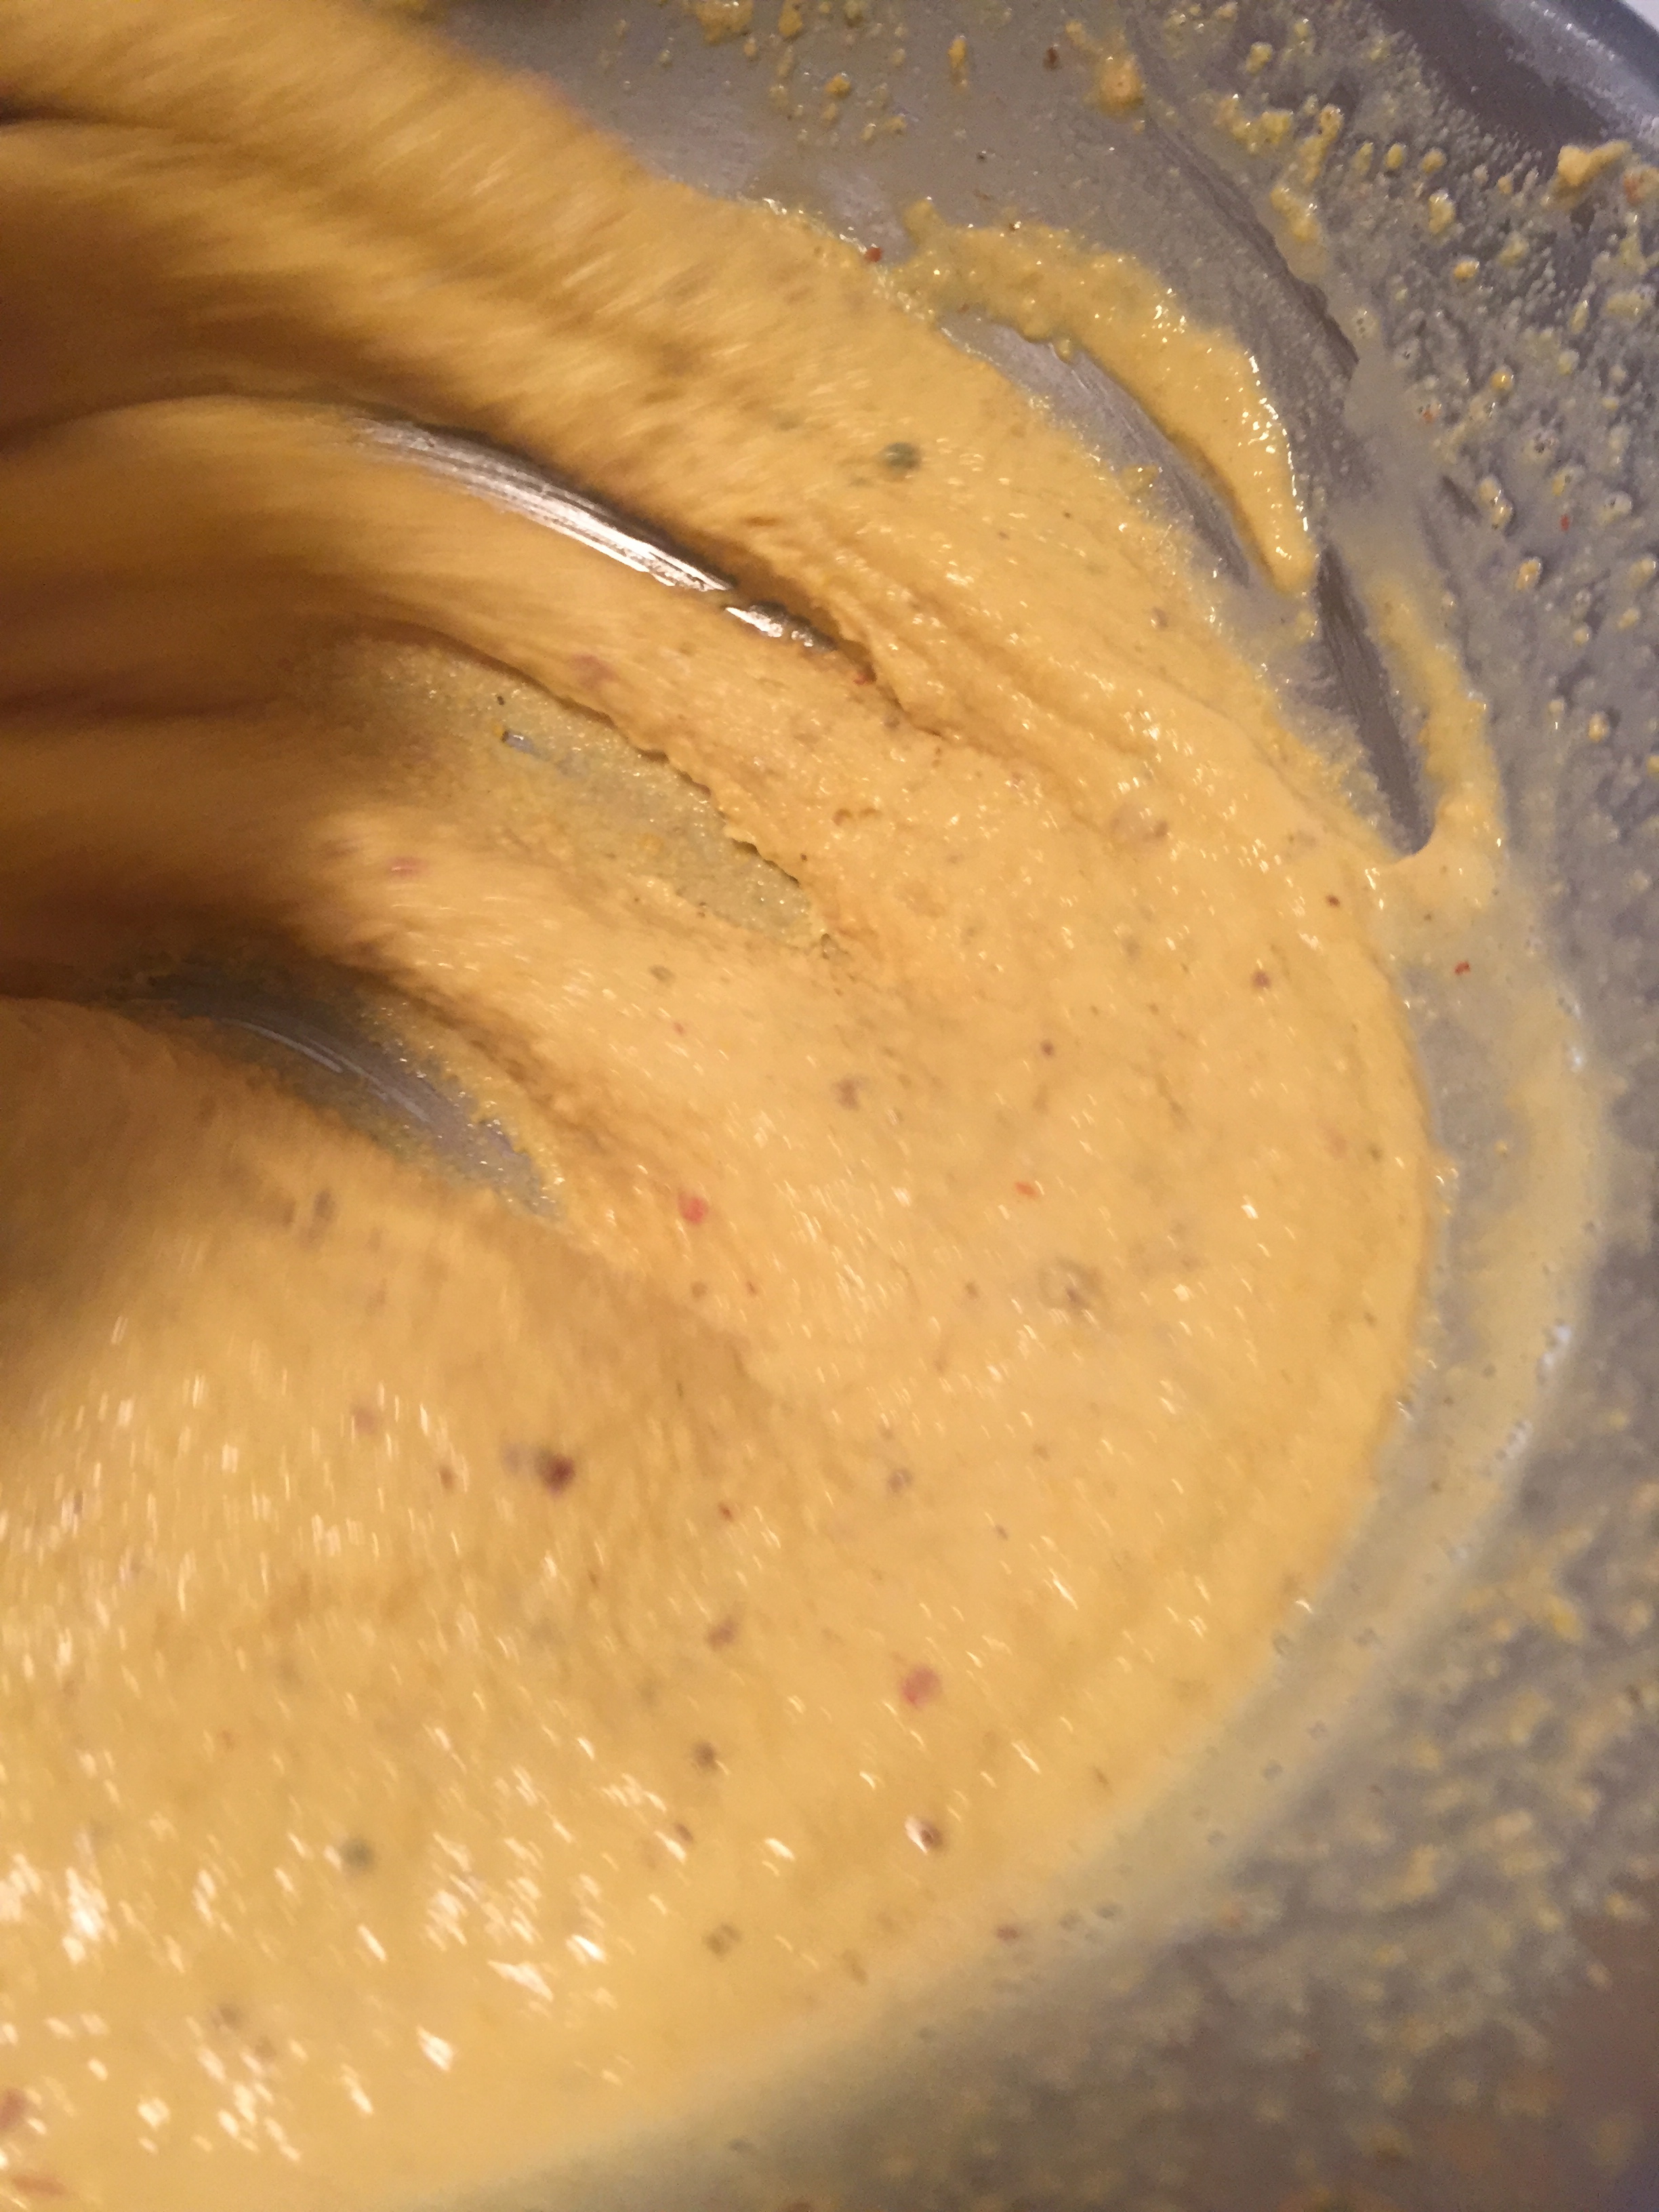
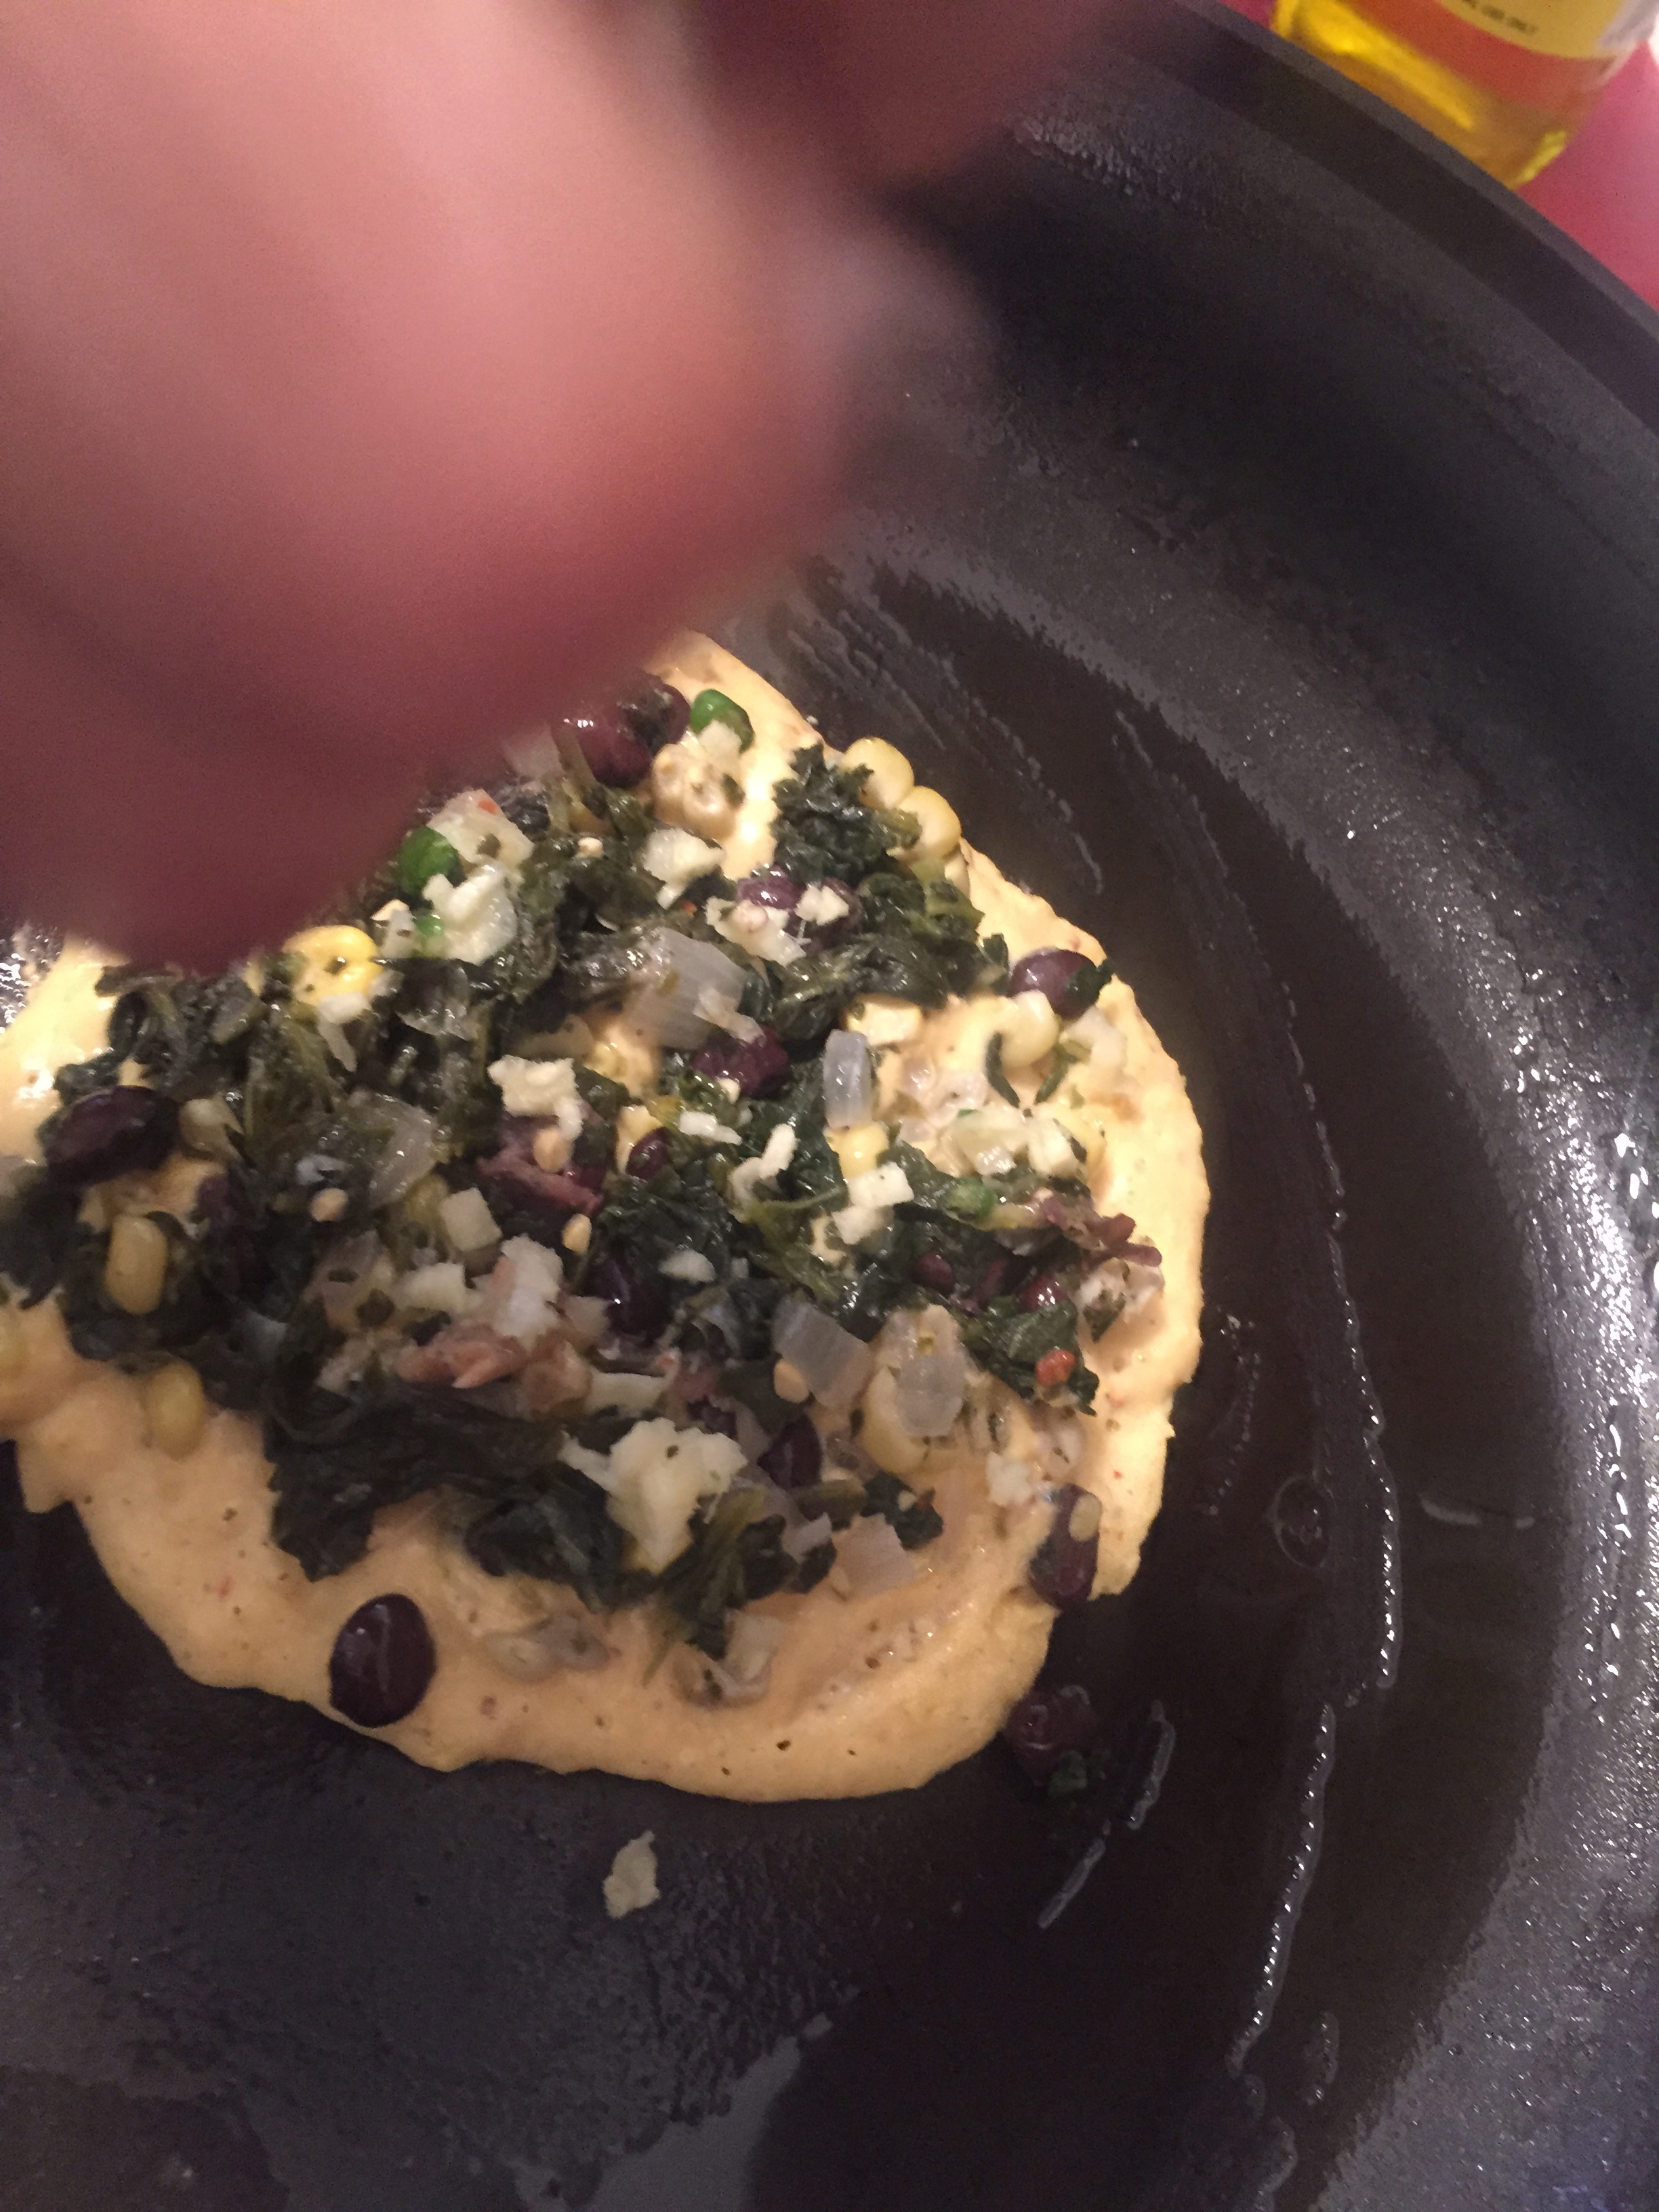
Knead the dough with all the ingredients just until it comes together and you are able to handle it without it being too sticky.
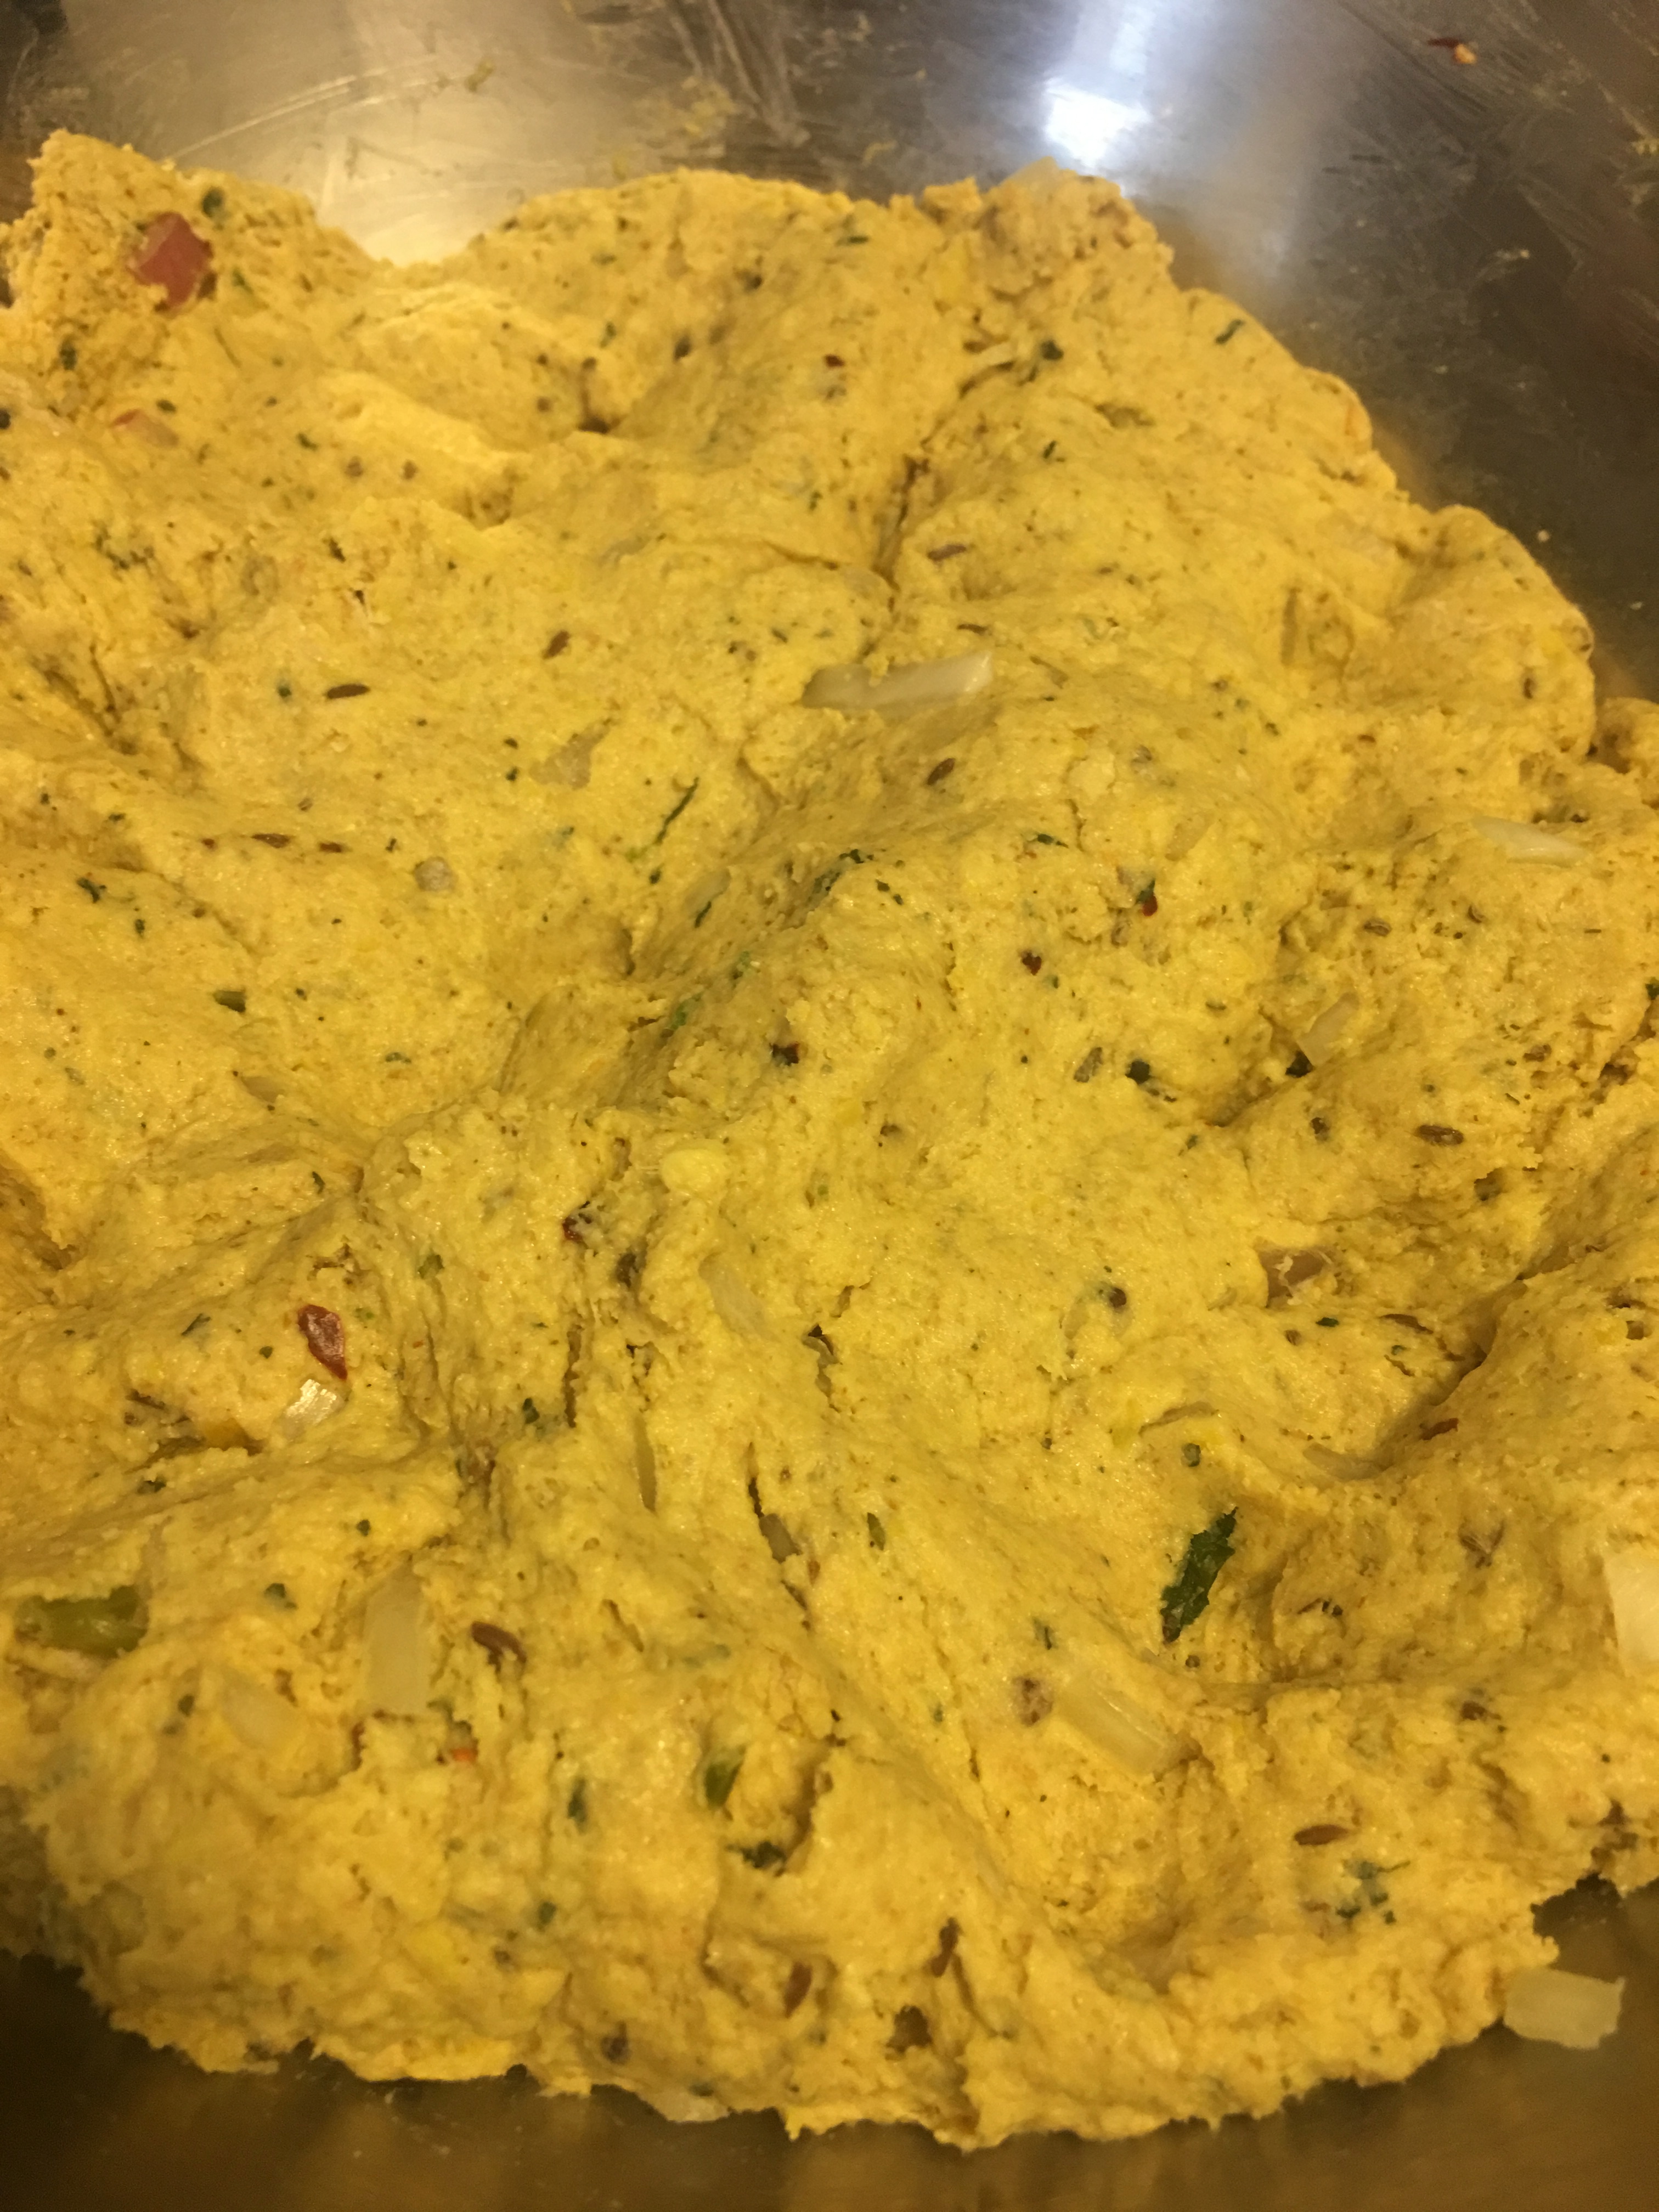
This is what the dough should look like.
If you like, form a small ball, flatten it and cook it to check for seasoning.
Let the dough rest for about 30 minutes. If you refrigerate it, make sure you let it come to room temperature before cooking.

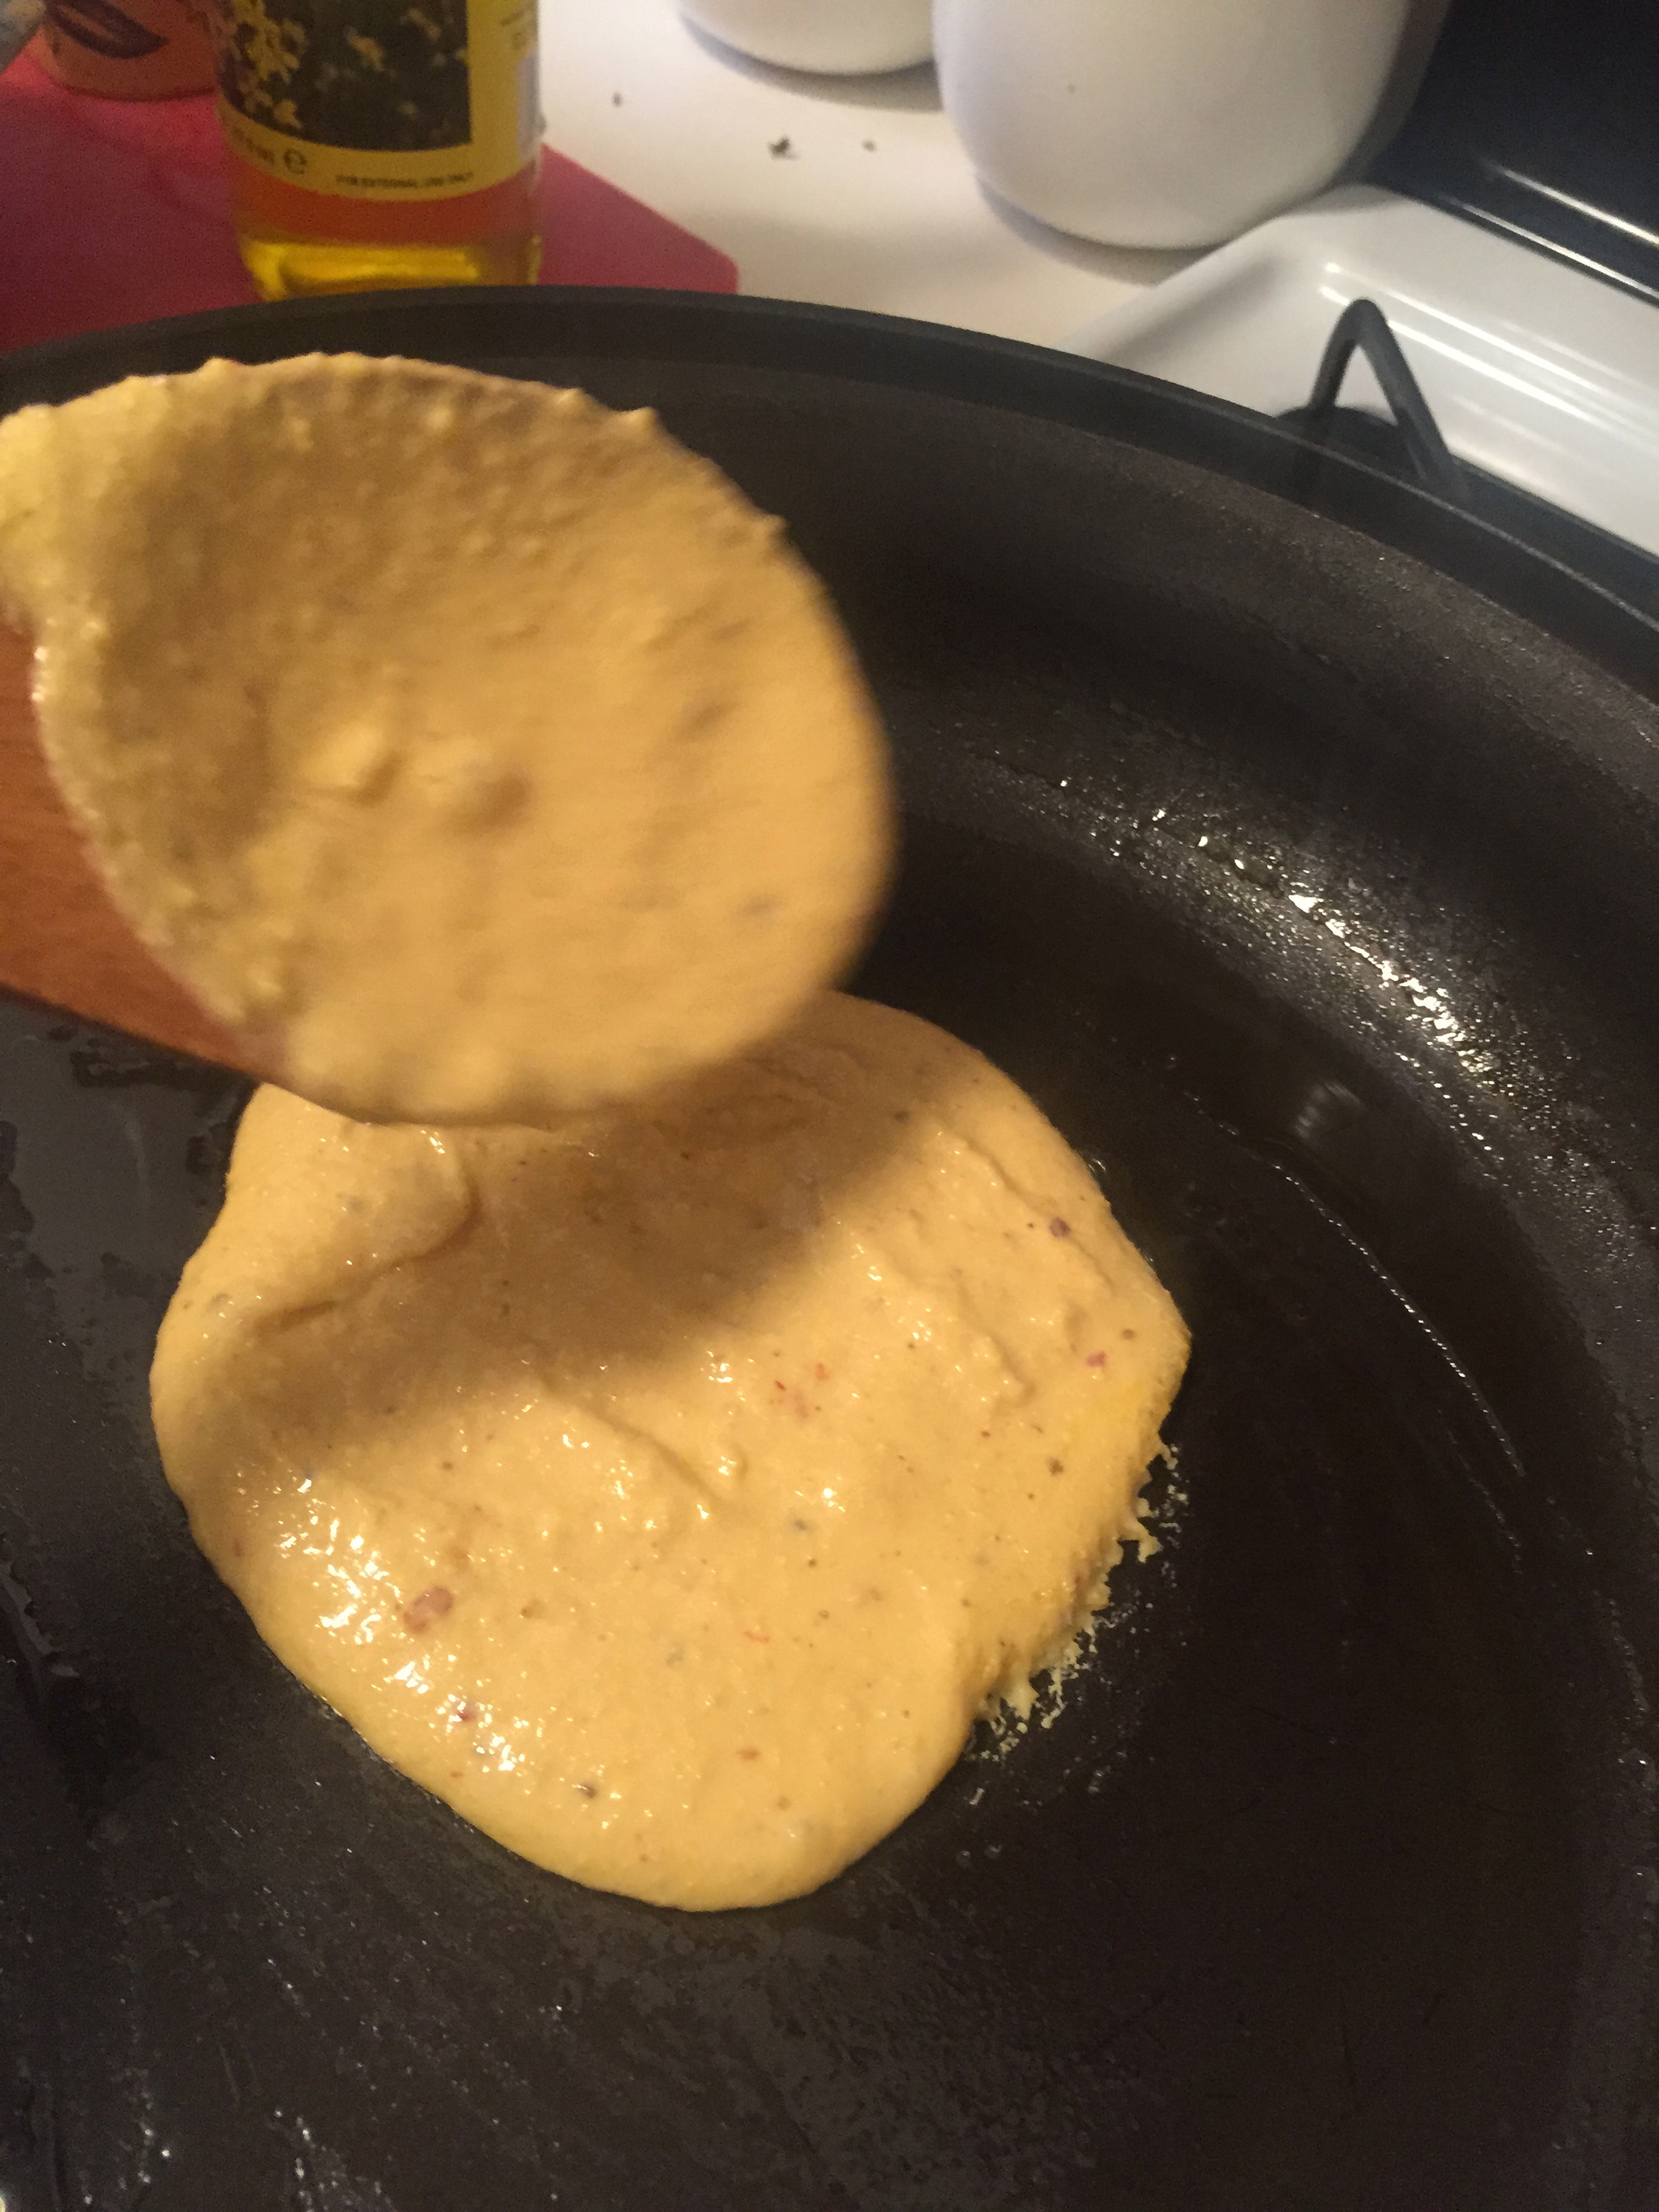
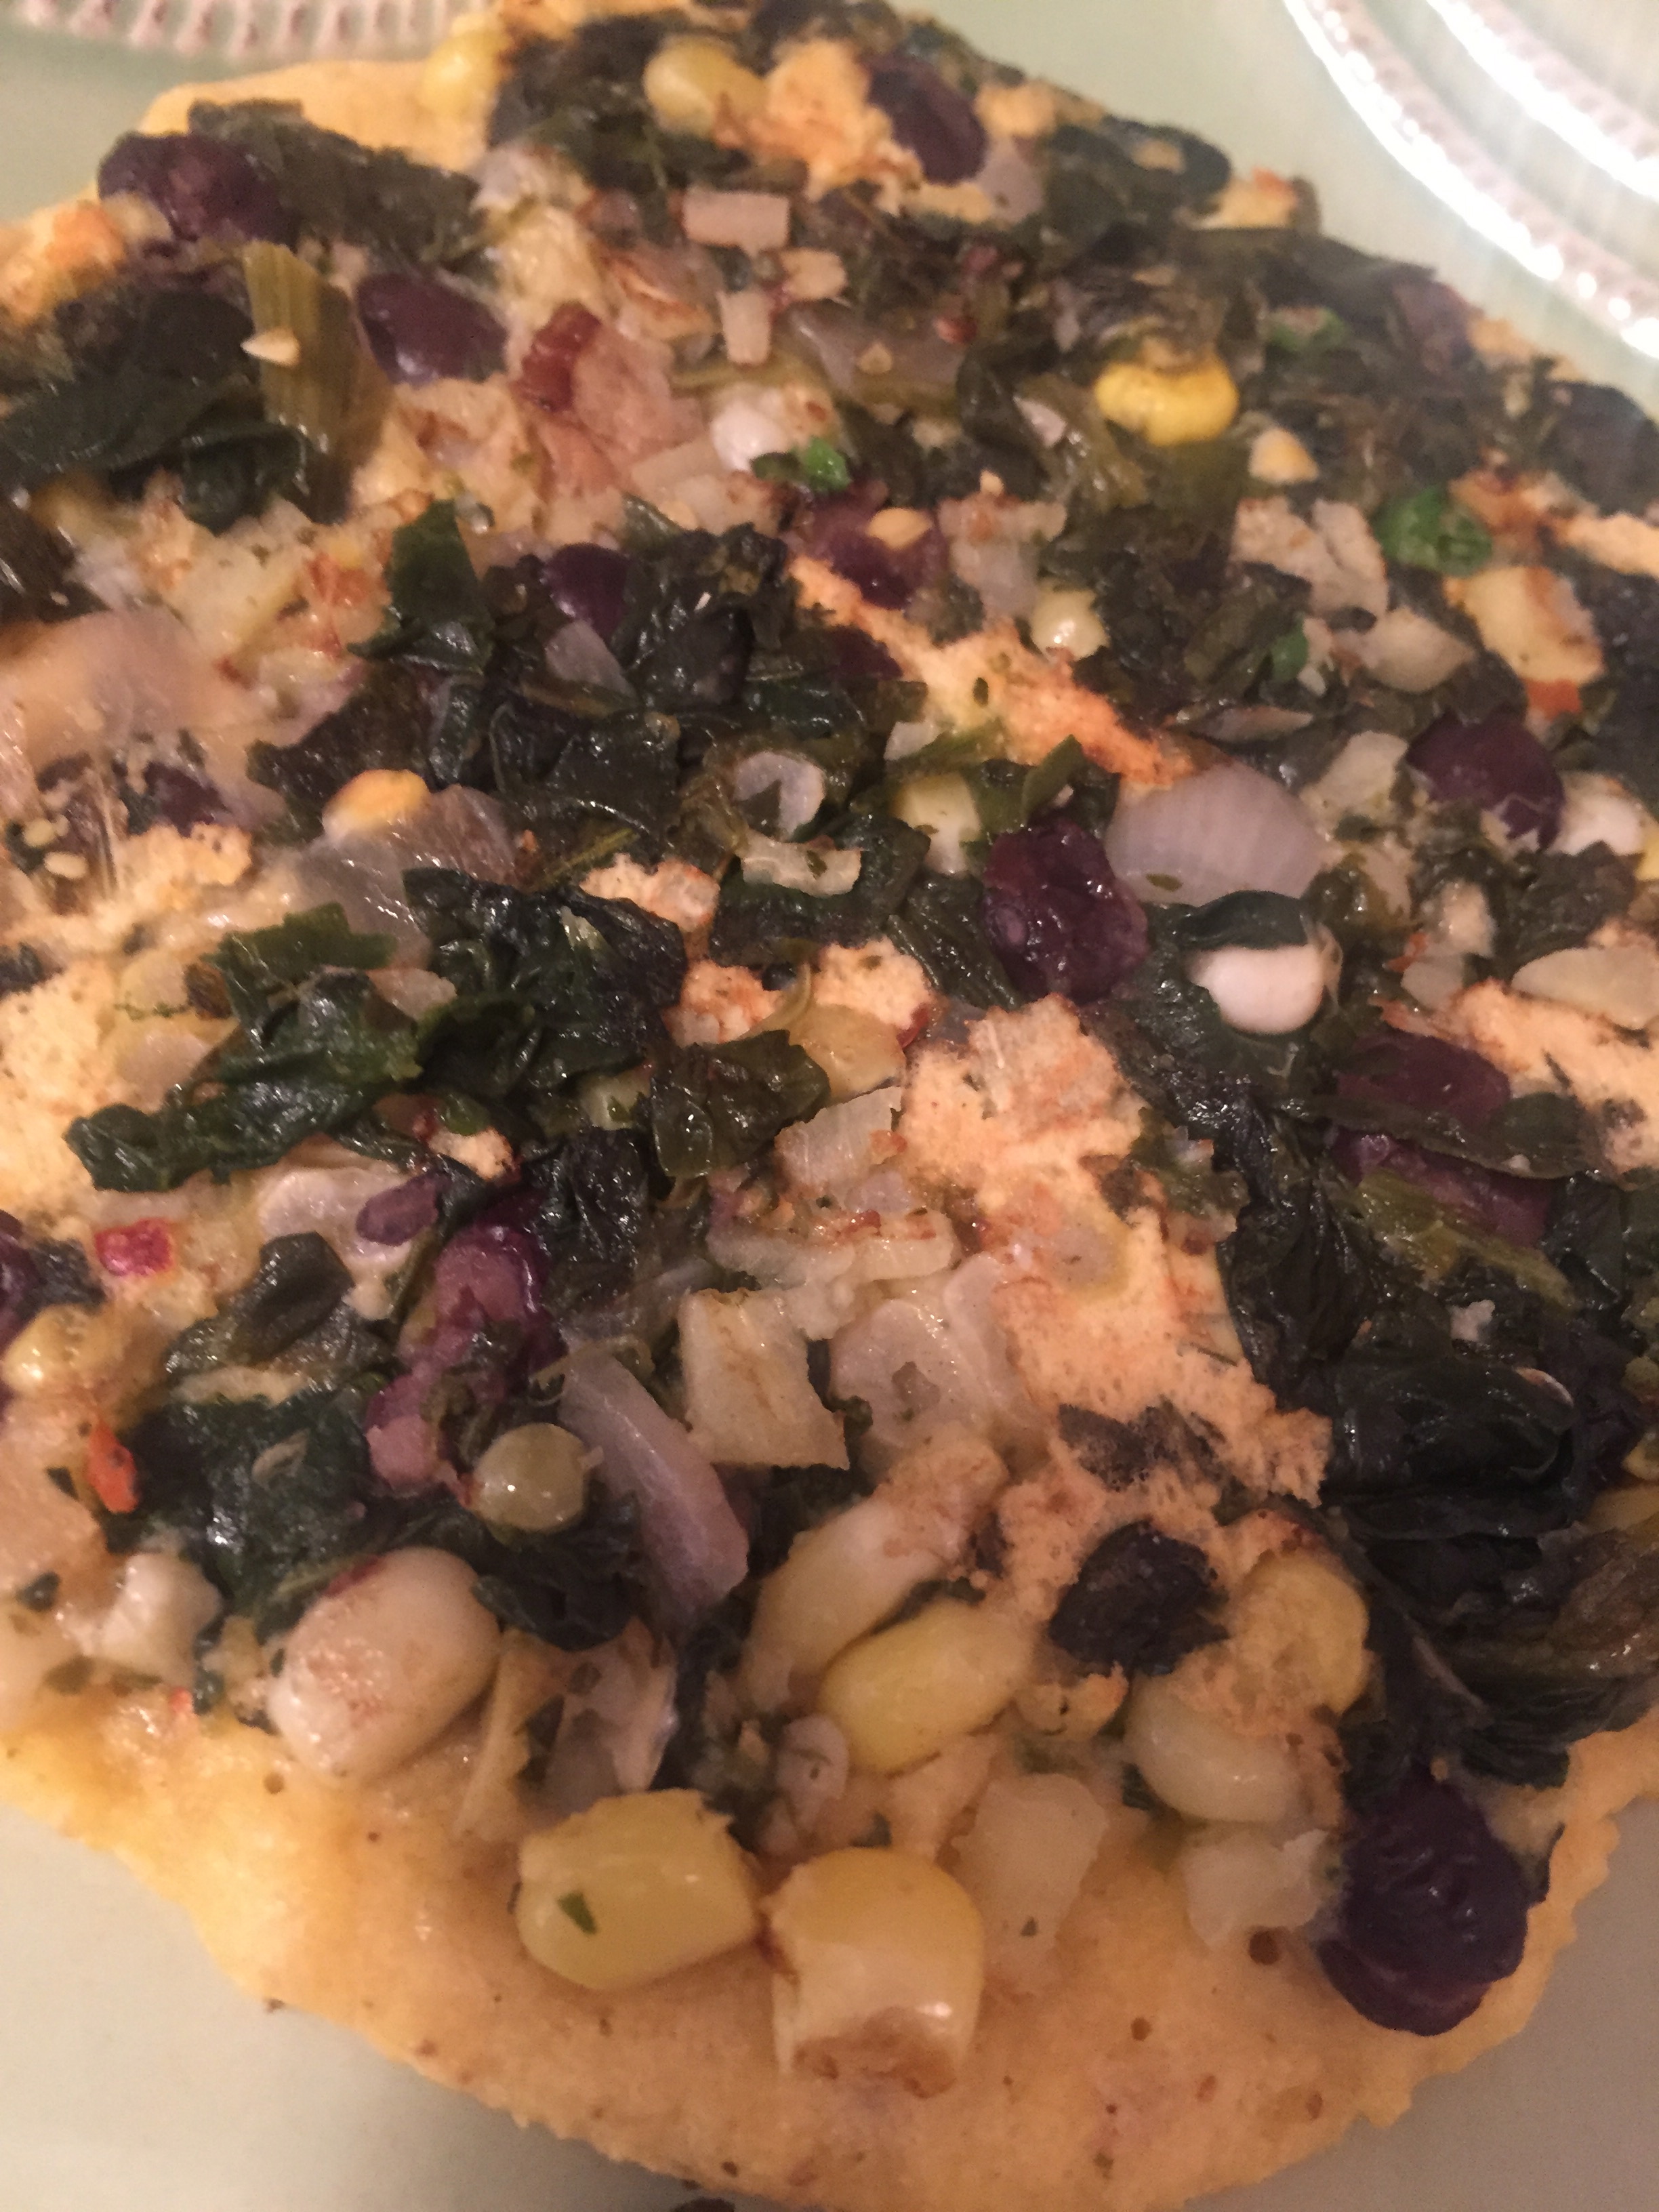
Form golf size balls of the dough and roll out into discs.
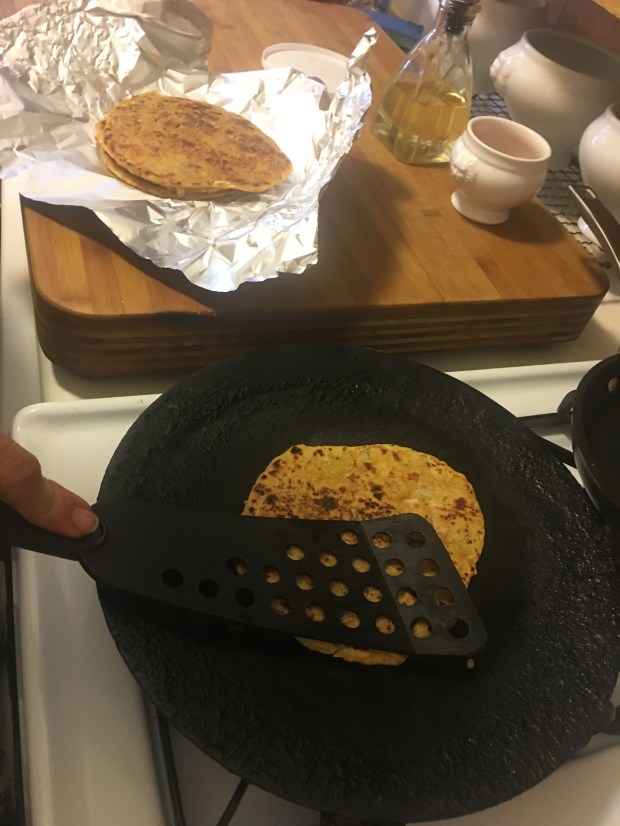
Use an iron skillet (a tawa) or a non stick pan to cook the bread.
Cook on one side for a couple of minutes – flip and brush a little oil on both sides.
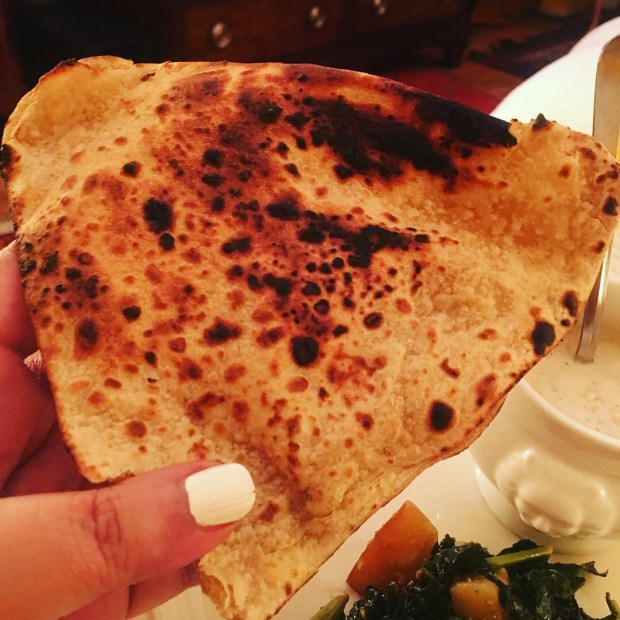
My mother makes several rotis and stores them just a little underdone.
You can freeze these and when ready to eat – heat in a toaster oven or on a skillet.
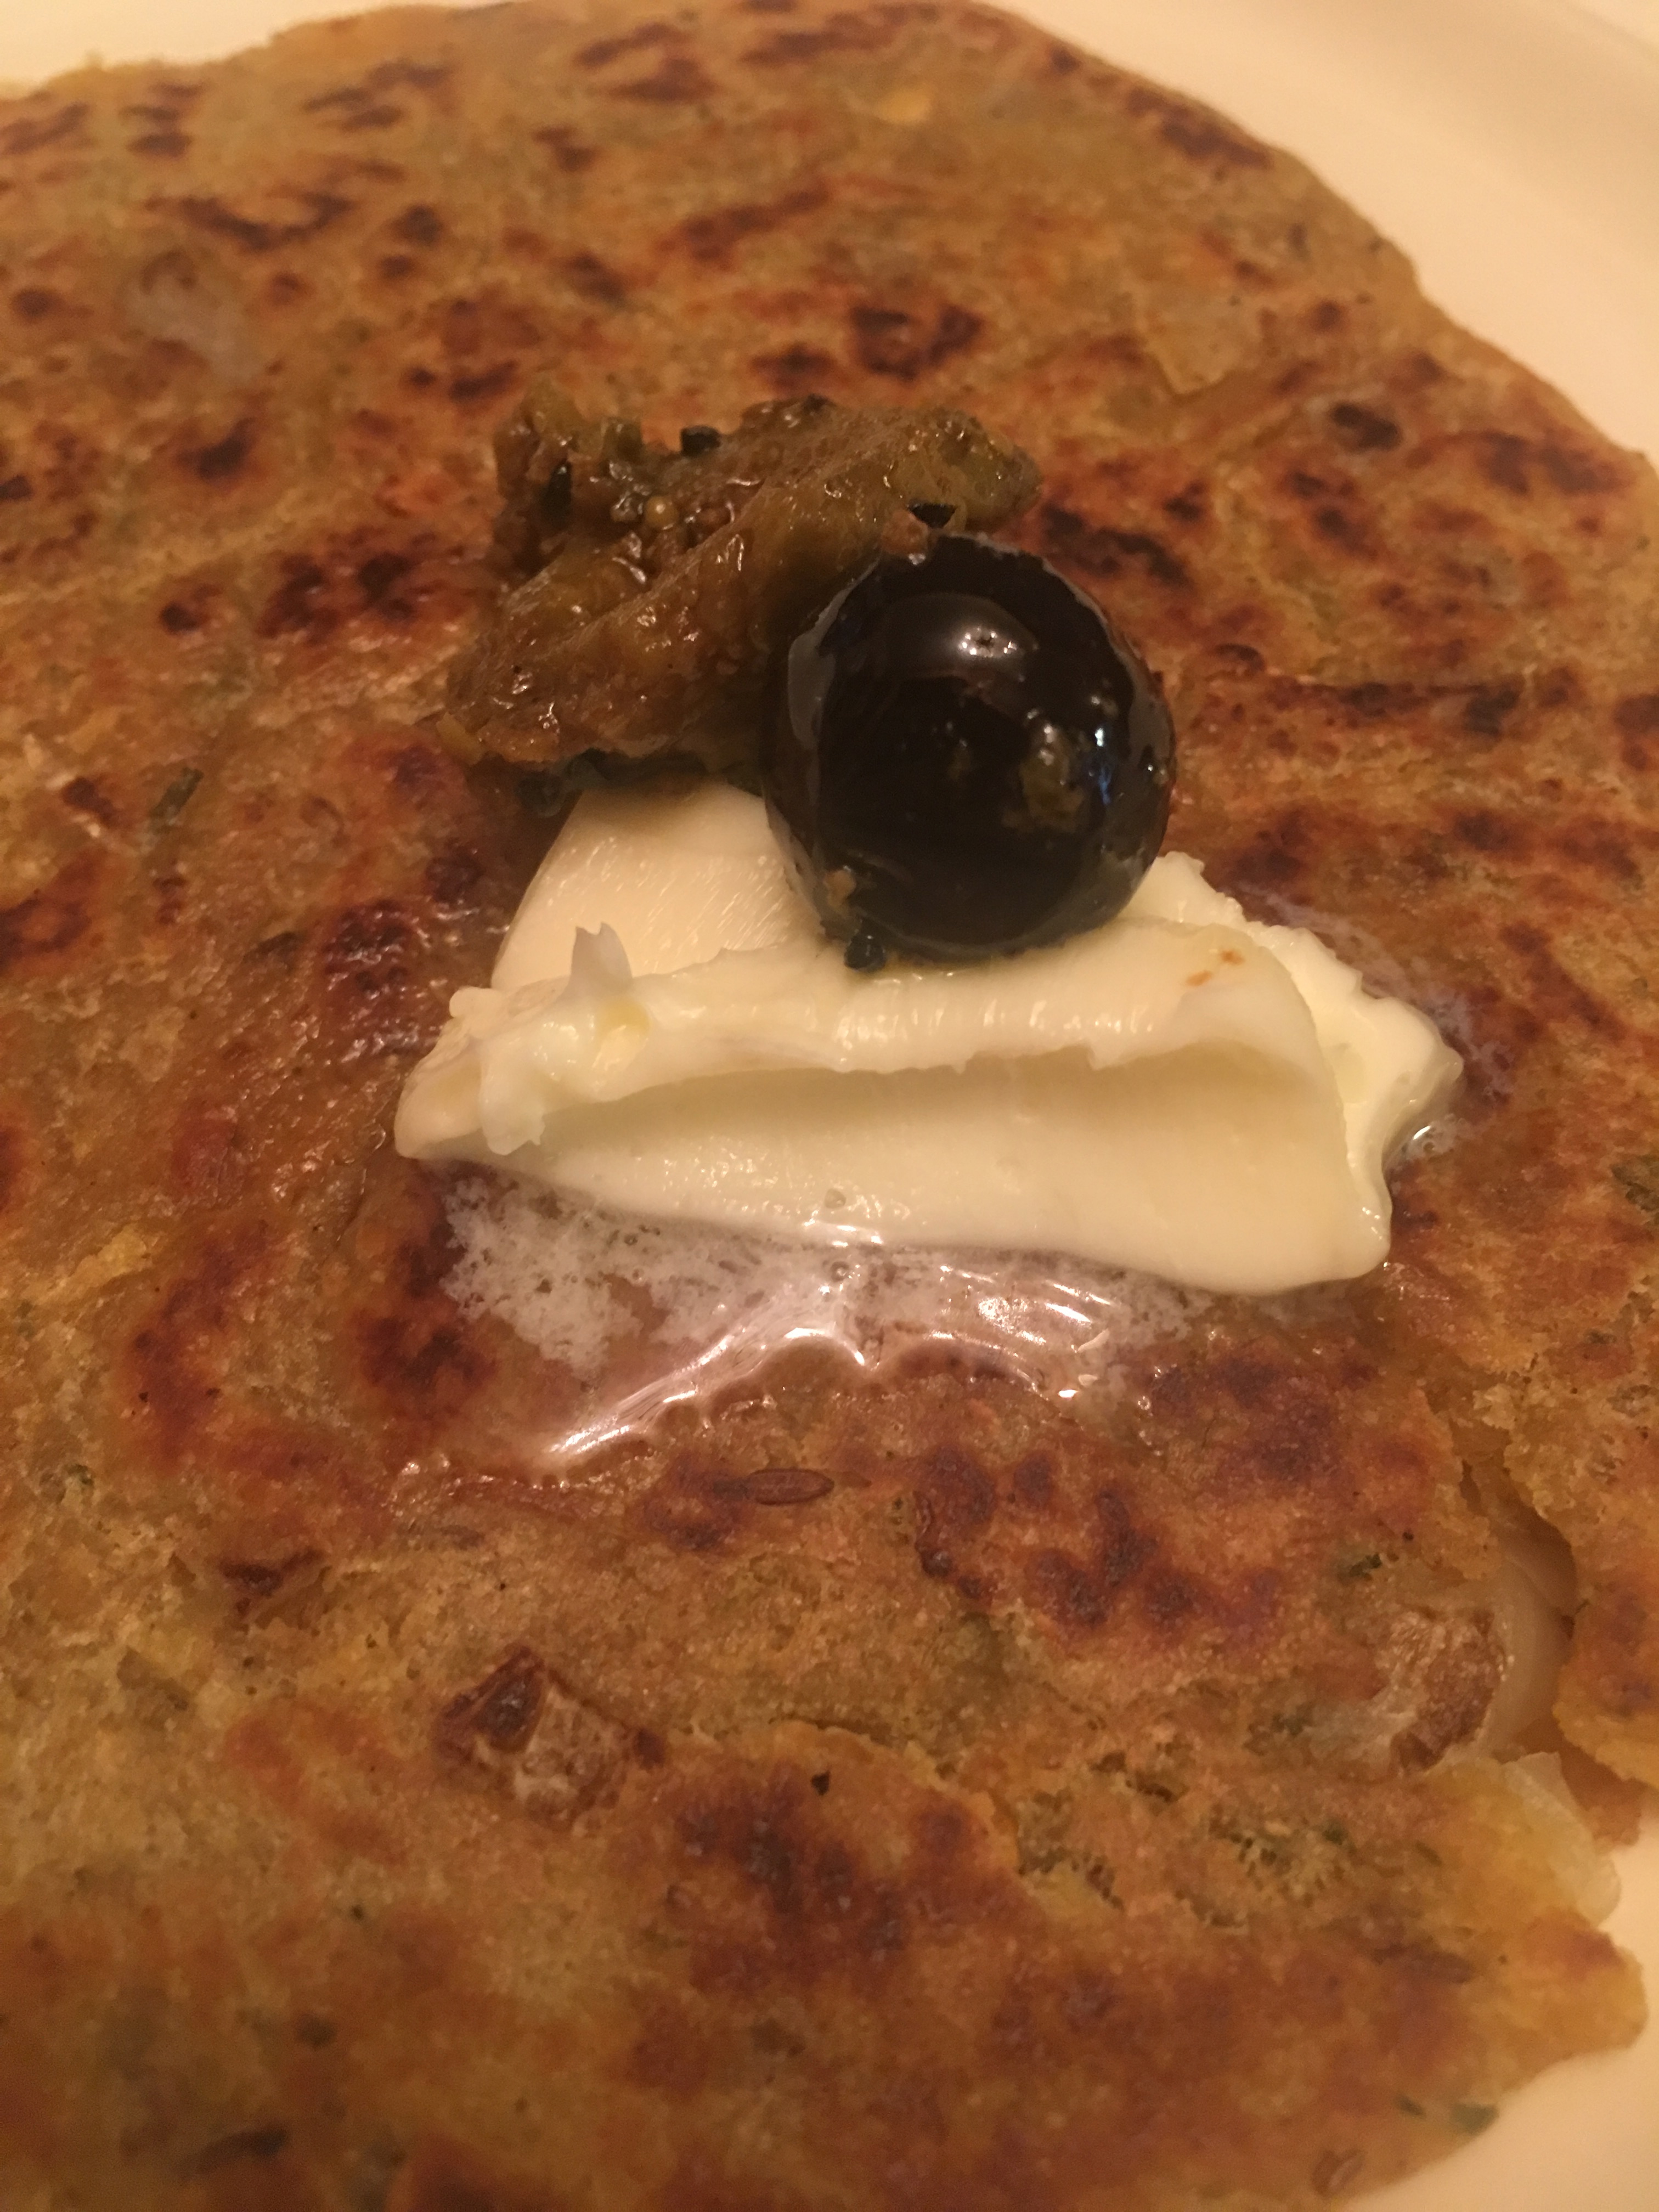
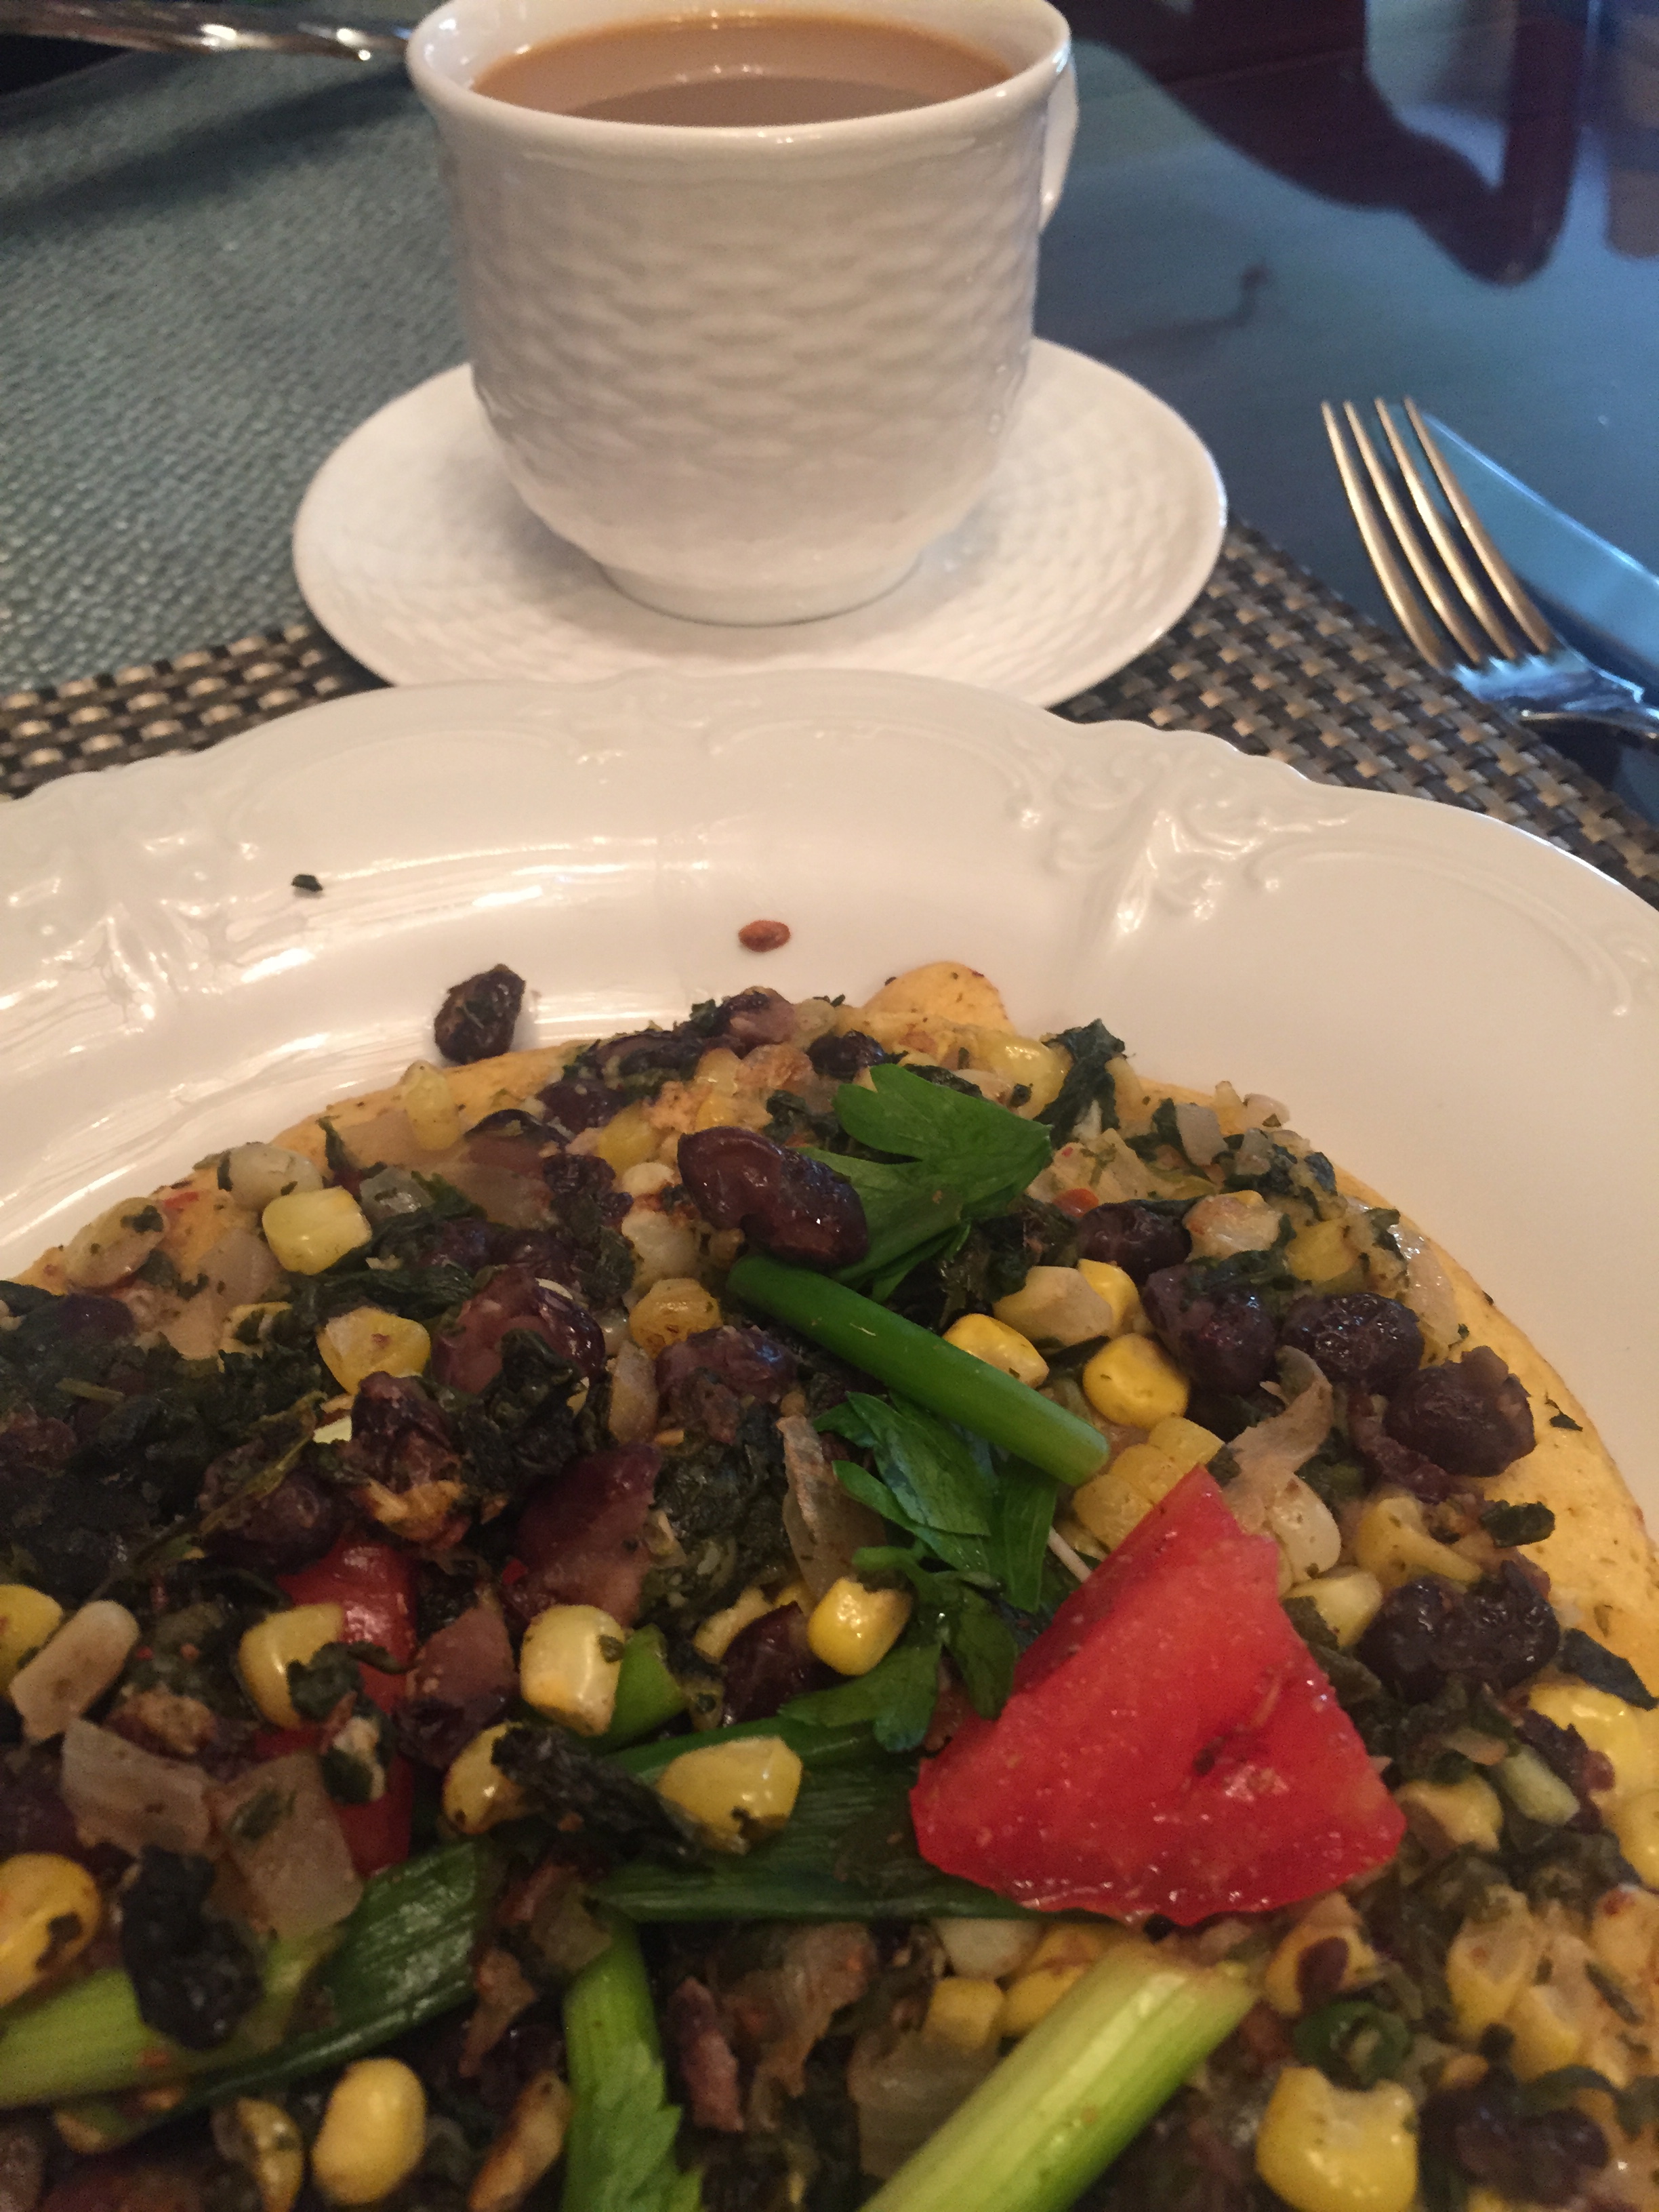
These bread are traditionally eaten for breakfast with yogurt and pickles or butter.
I hope you try this bread – it is a great way of cleaning your refrigerator.
Until I cook again!


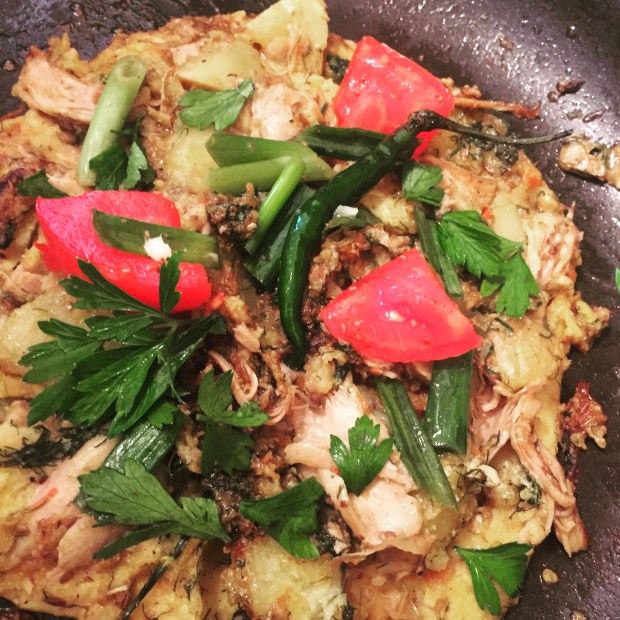
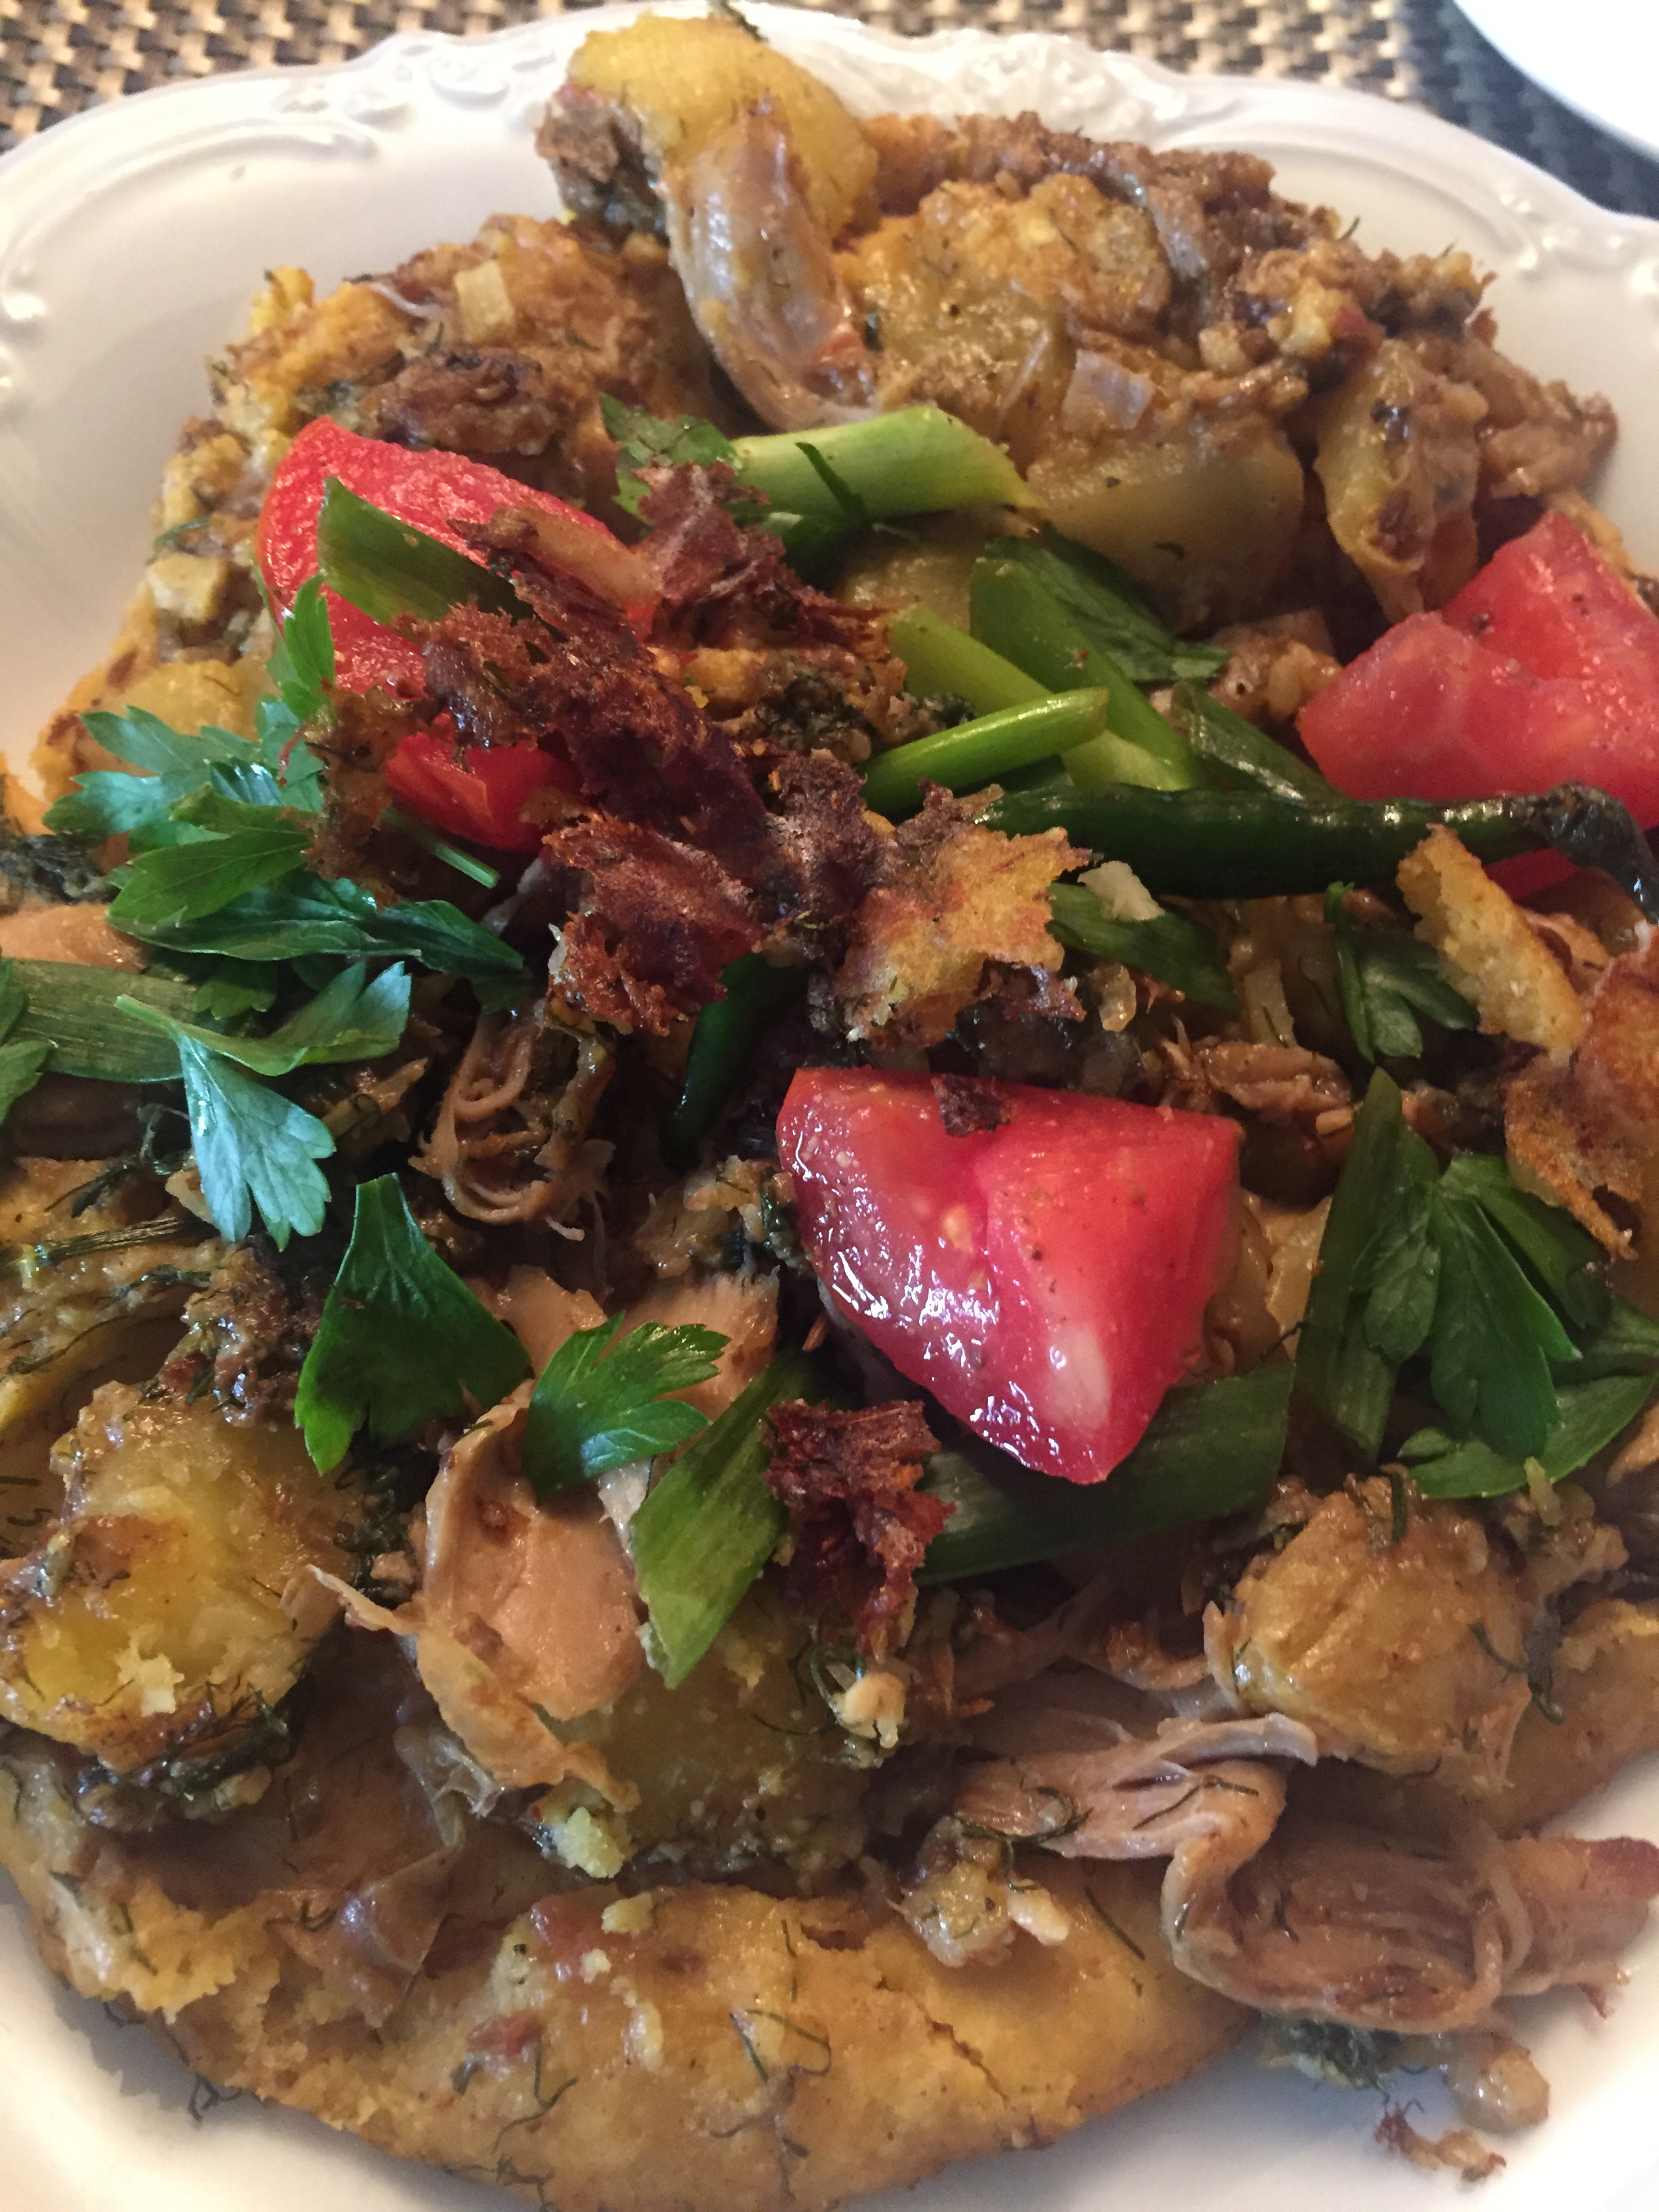
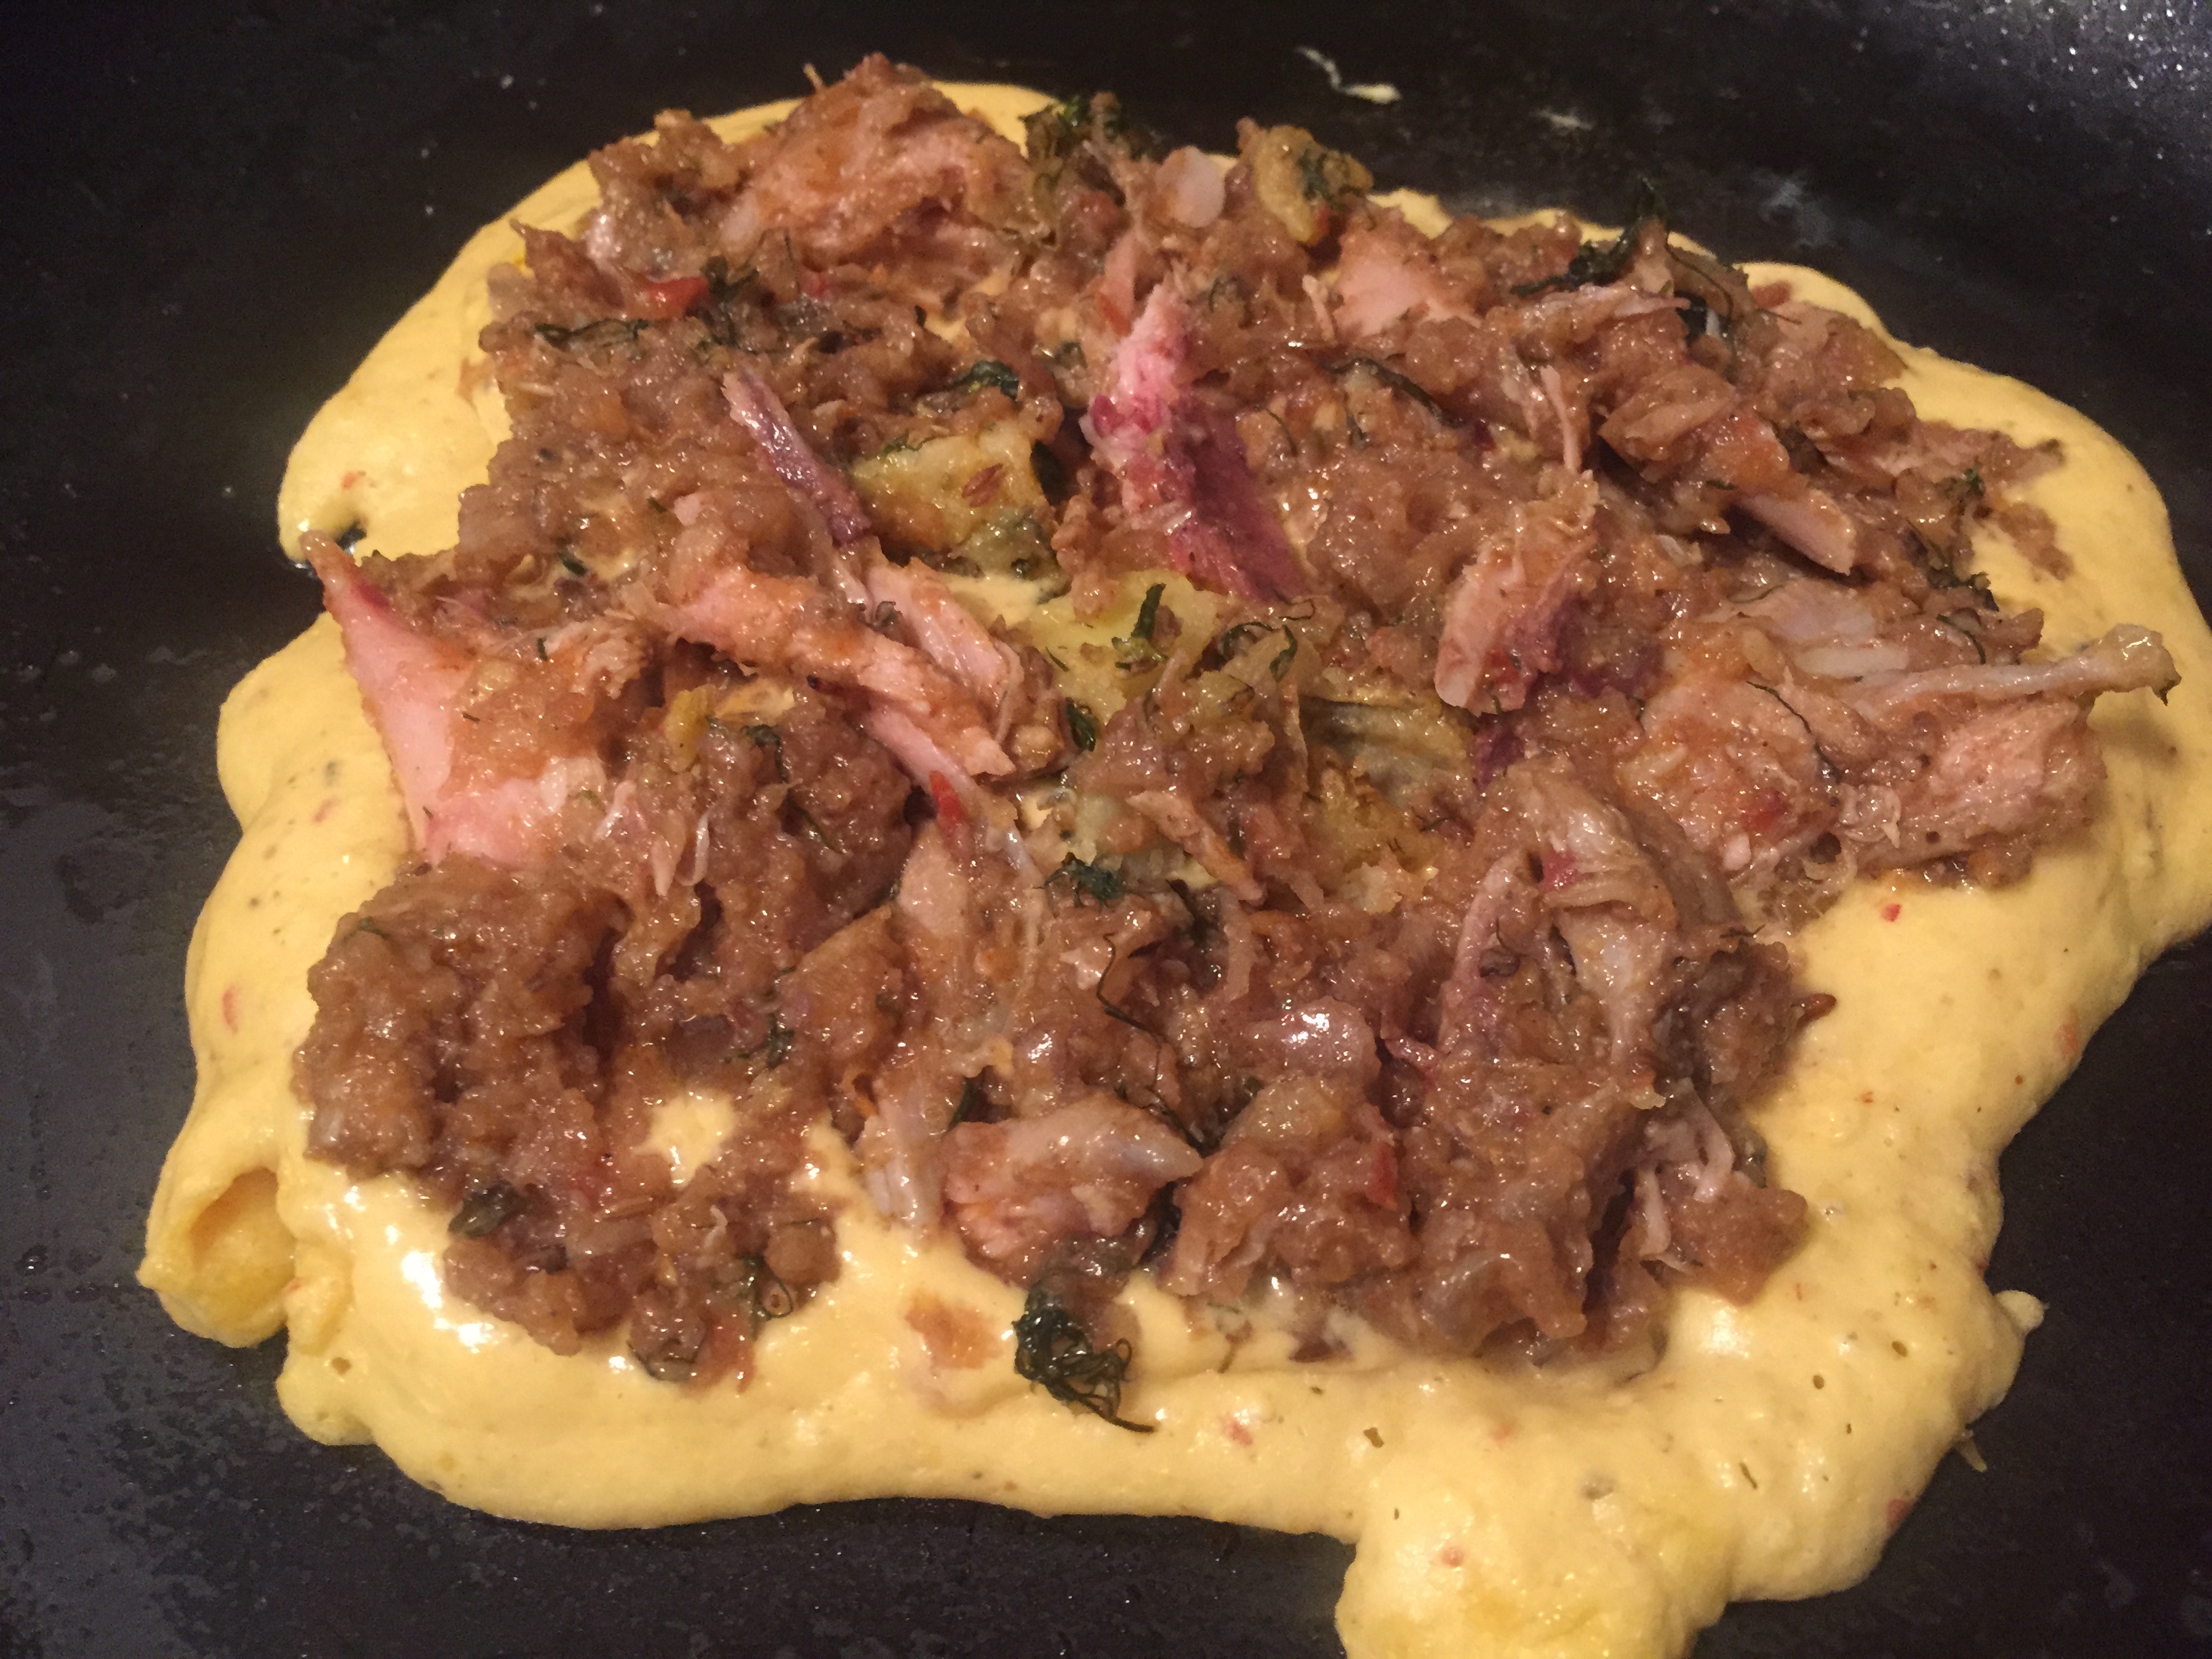
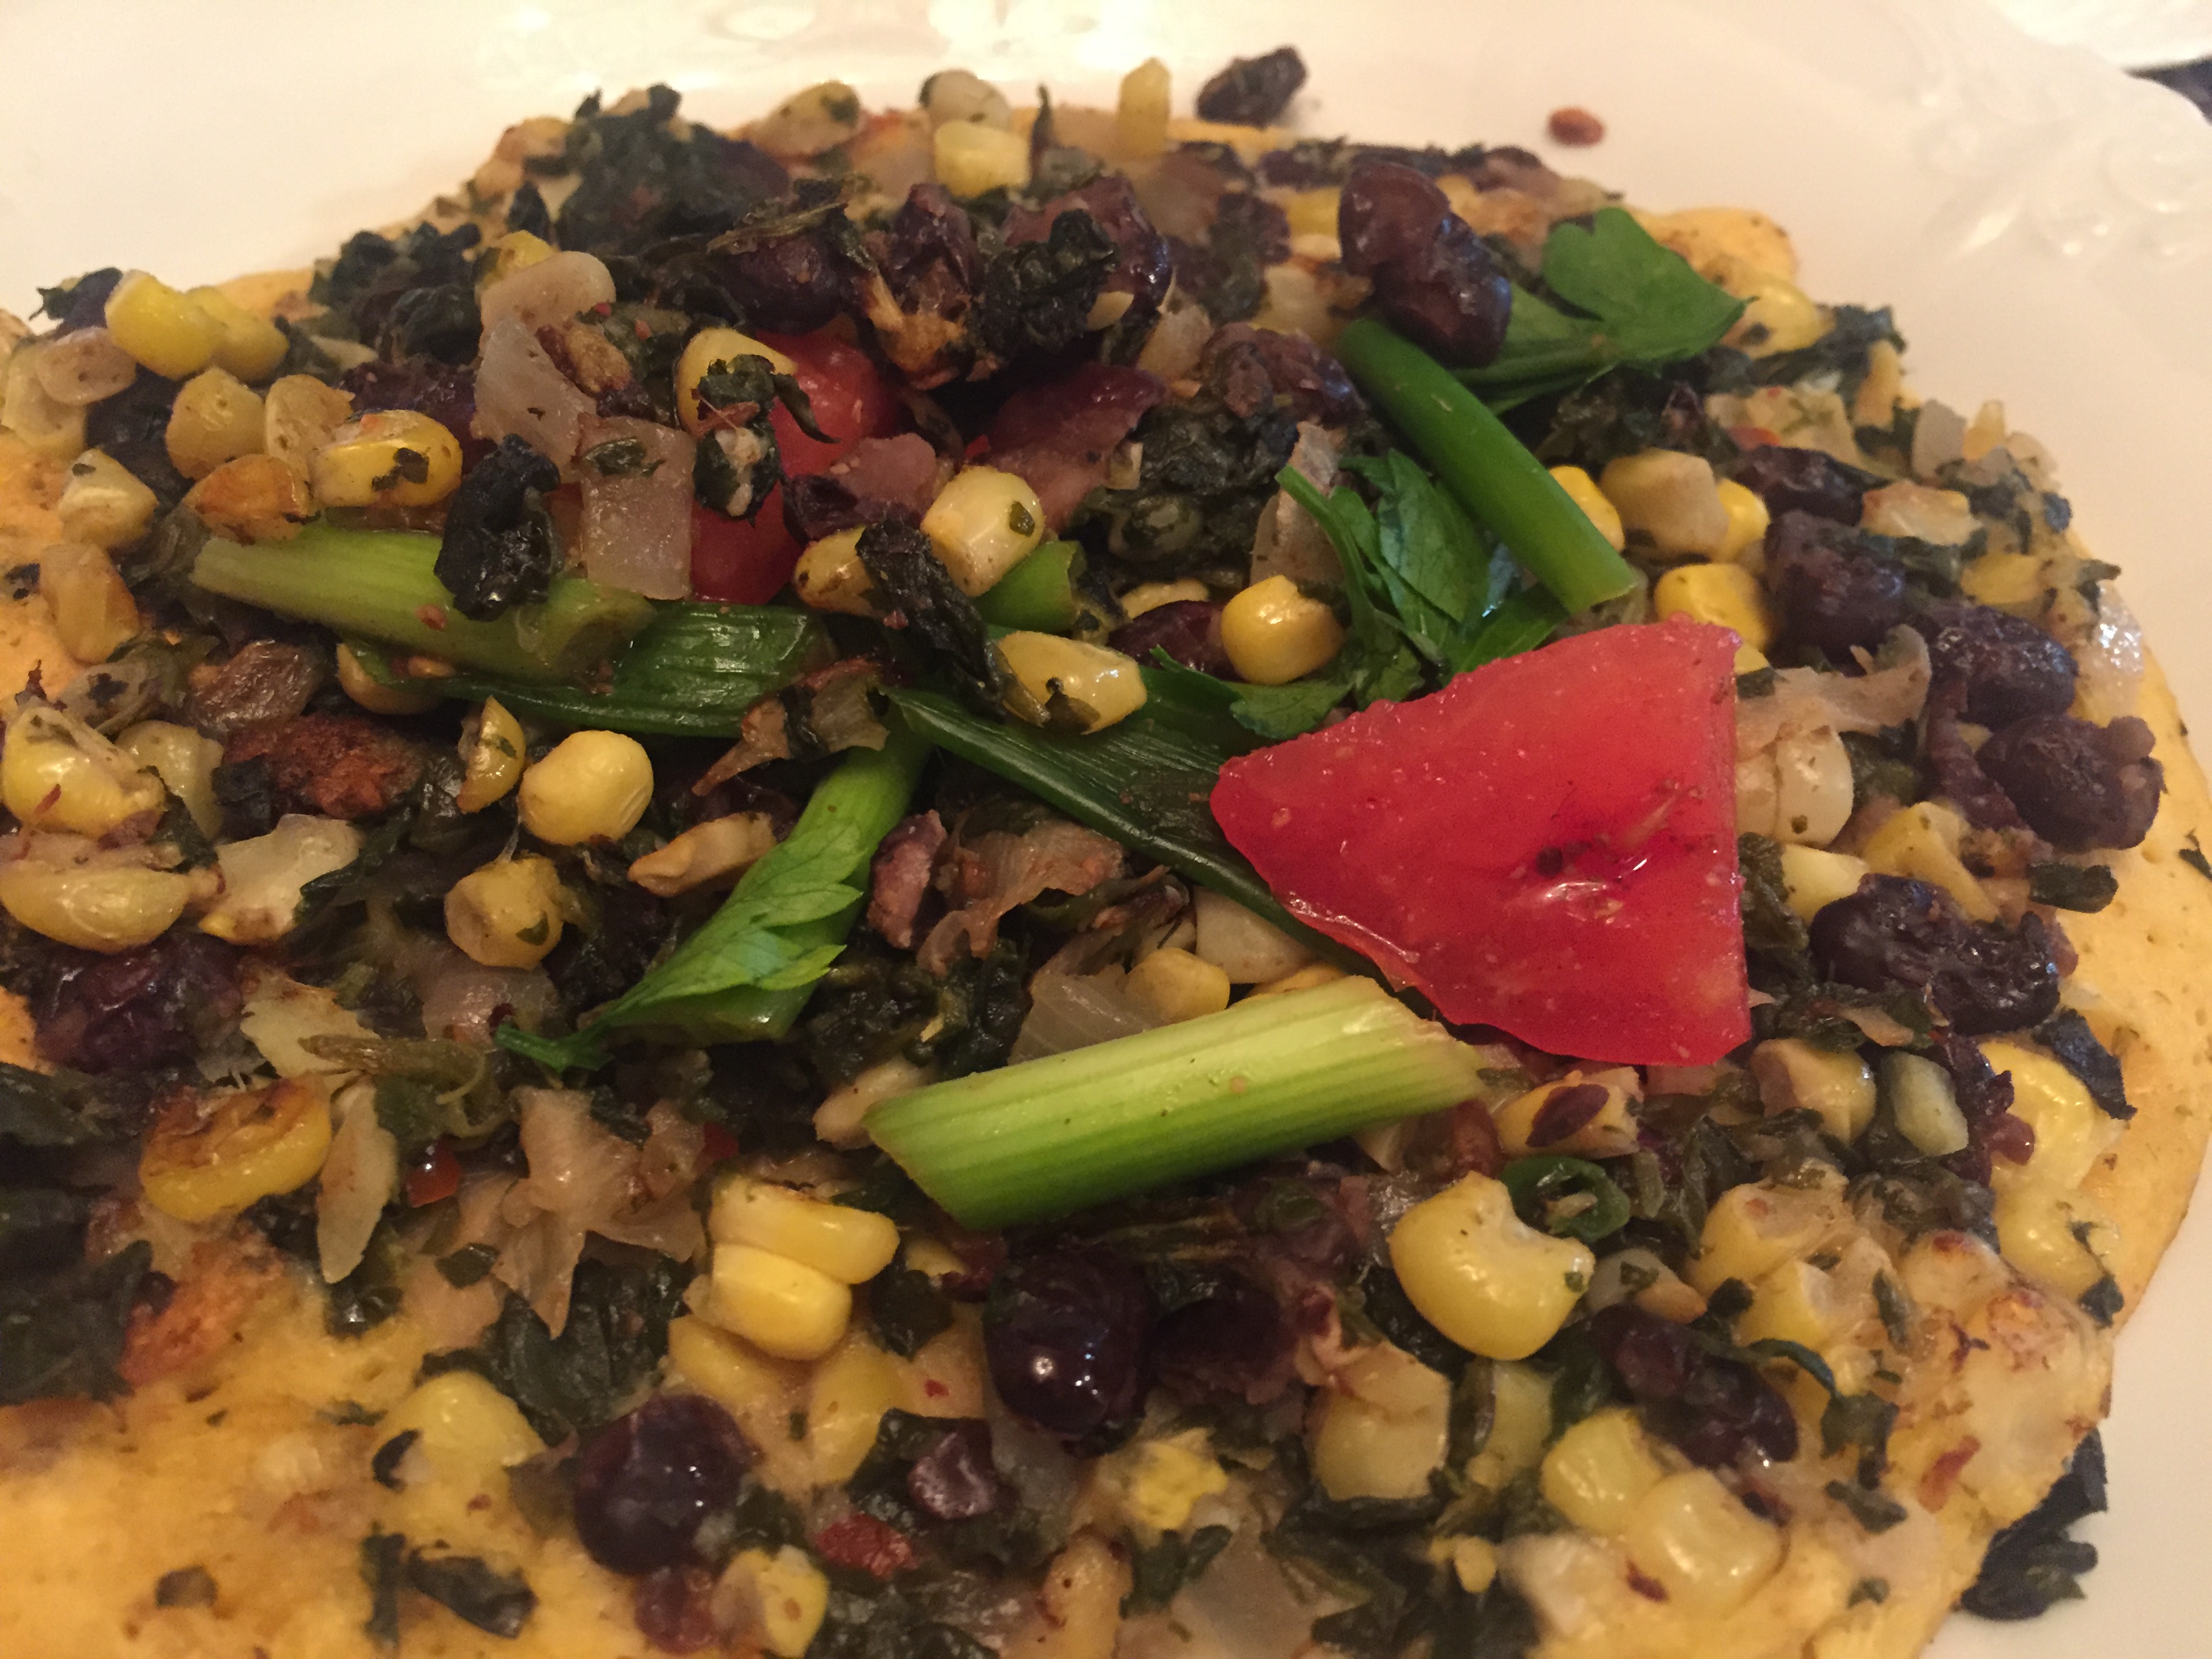
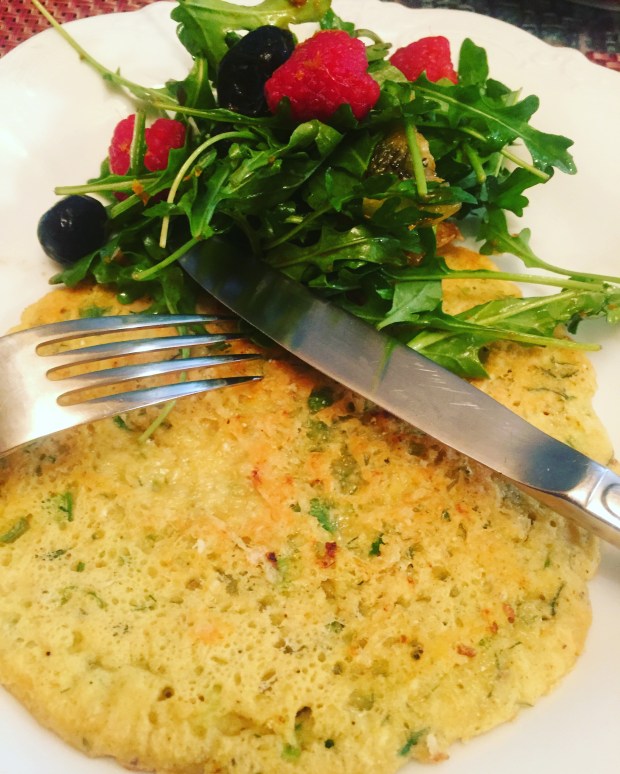 At other times. I have added leftovers to these pancakes – in this case leftover shredded chicken, chopped tomatoes, scallions and parsley.